

Table of Contents
Setting up passkeys with Descope can be as easy as flipping a switch. But what happens when a user signs up with a passkey on their laptop and later tries to log in from their smartphone? Unlike initial setup, enabling passkey authentication across multiple devices requires additional configuration.
In this tutorial, we’ll cover the following scenarios for managing cross-device passkeys:
Implementing passkeys on a laptop and testing the passwordless login flow.
Authenticating existing users by creating and using passkeys on a smartphone.
Signing in to your application on a laptop with passkeys stored on a phone.
By the end of it, you'll have successfully implemented cross-device passkey authentication in your app, ensuring a secure and seamless login experience across multiple devices using Descope Flows.
Implementing cross-device passkeys
Adding cross-device passkeys to your application with Descope is quick and straightforward. Here’s how to set it up:
Sign up or log in to your free forever Descope account.
Choose your preferred Descope SDK—this guide uses the React SDK.
Add your project ID to the AuthProvider component.
Update the Flow ID in the Descope component to
passkeys-cross-device.Use the Passkeys Flow Template, available under "Flows."
Test with a passkey-compatible browser—we’ll use Google Chrome, but others work too.
Once set up, test your implementation by logging in on both a laptop and a phone. This ensures users can move between devices without hassle, enjoying a seamless authentication experience.
Read more: Managing Passkeys on Apple, Google, and Microsoft Platforms
Running the app
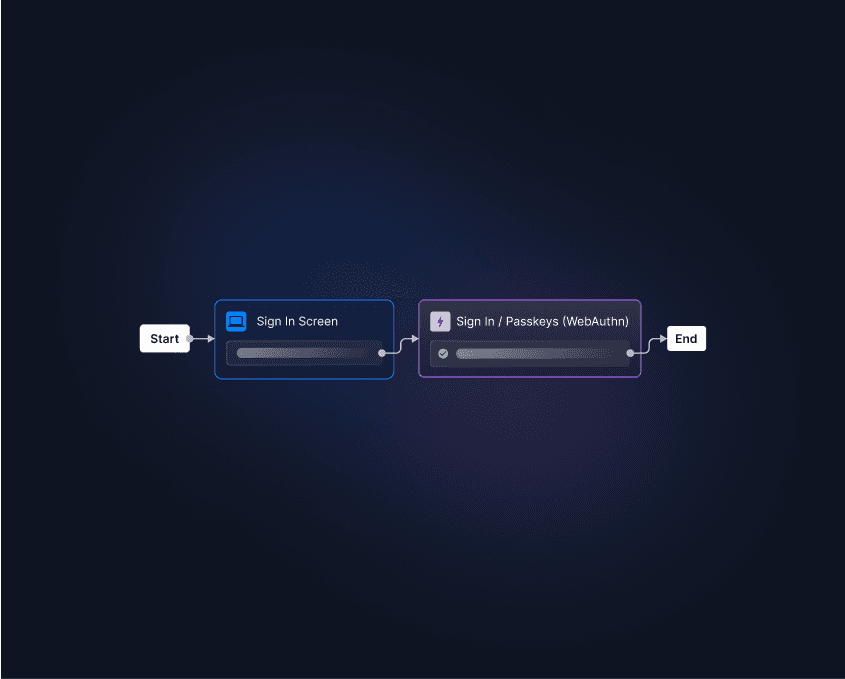
Log into your Descope account, click on Flows, and import the passkeys-cross-device JSON into your project. This flow is designed to verify the user’s email when using passkey authentication.
Once you have set up the sample app on your local desktop, run it on localhost:5173
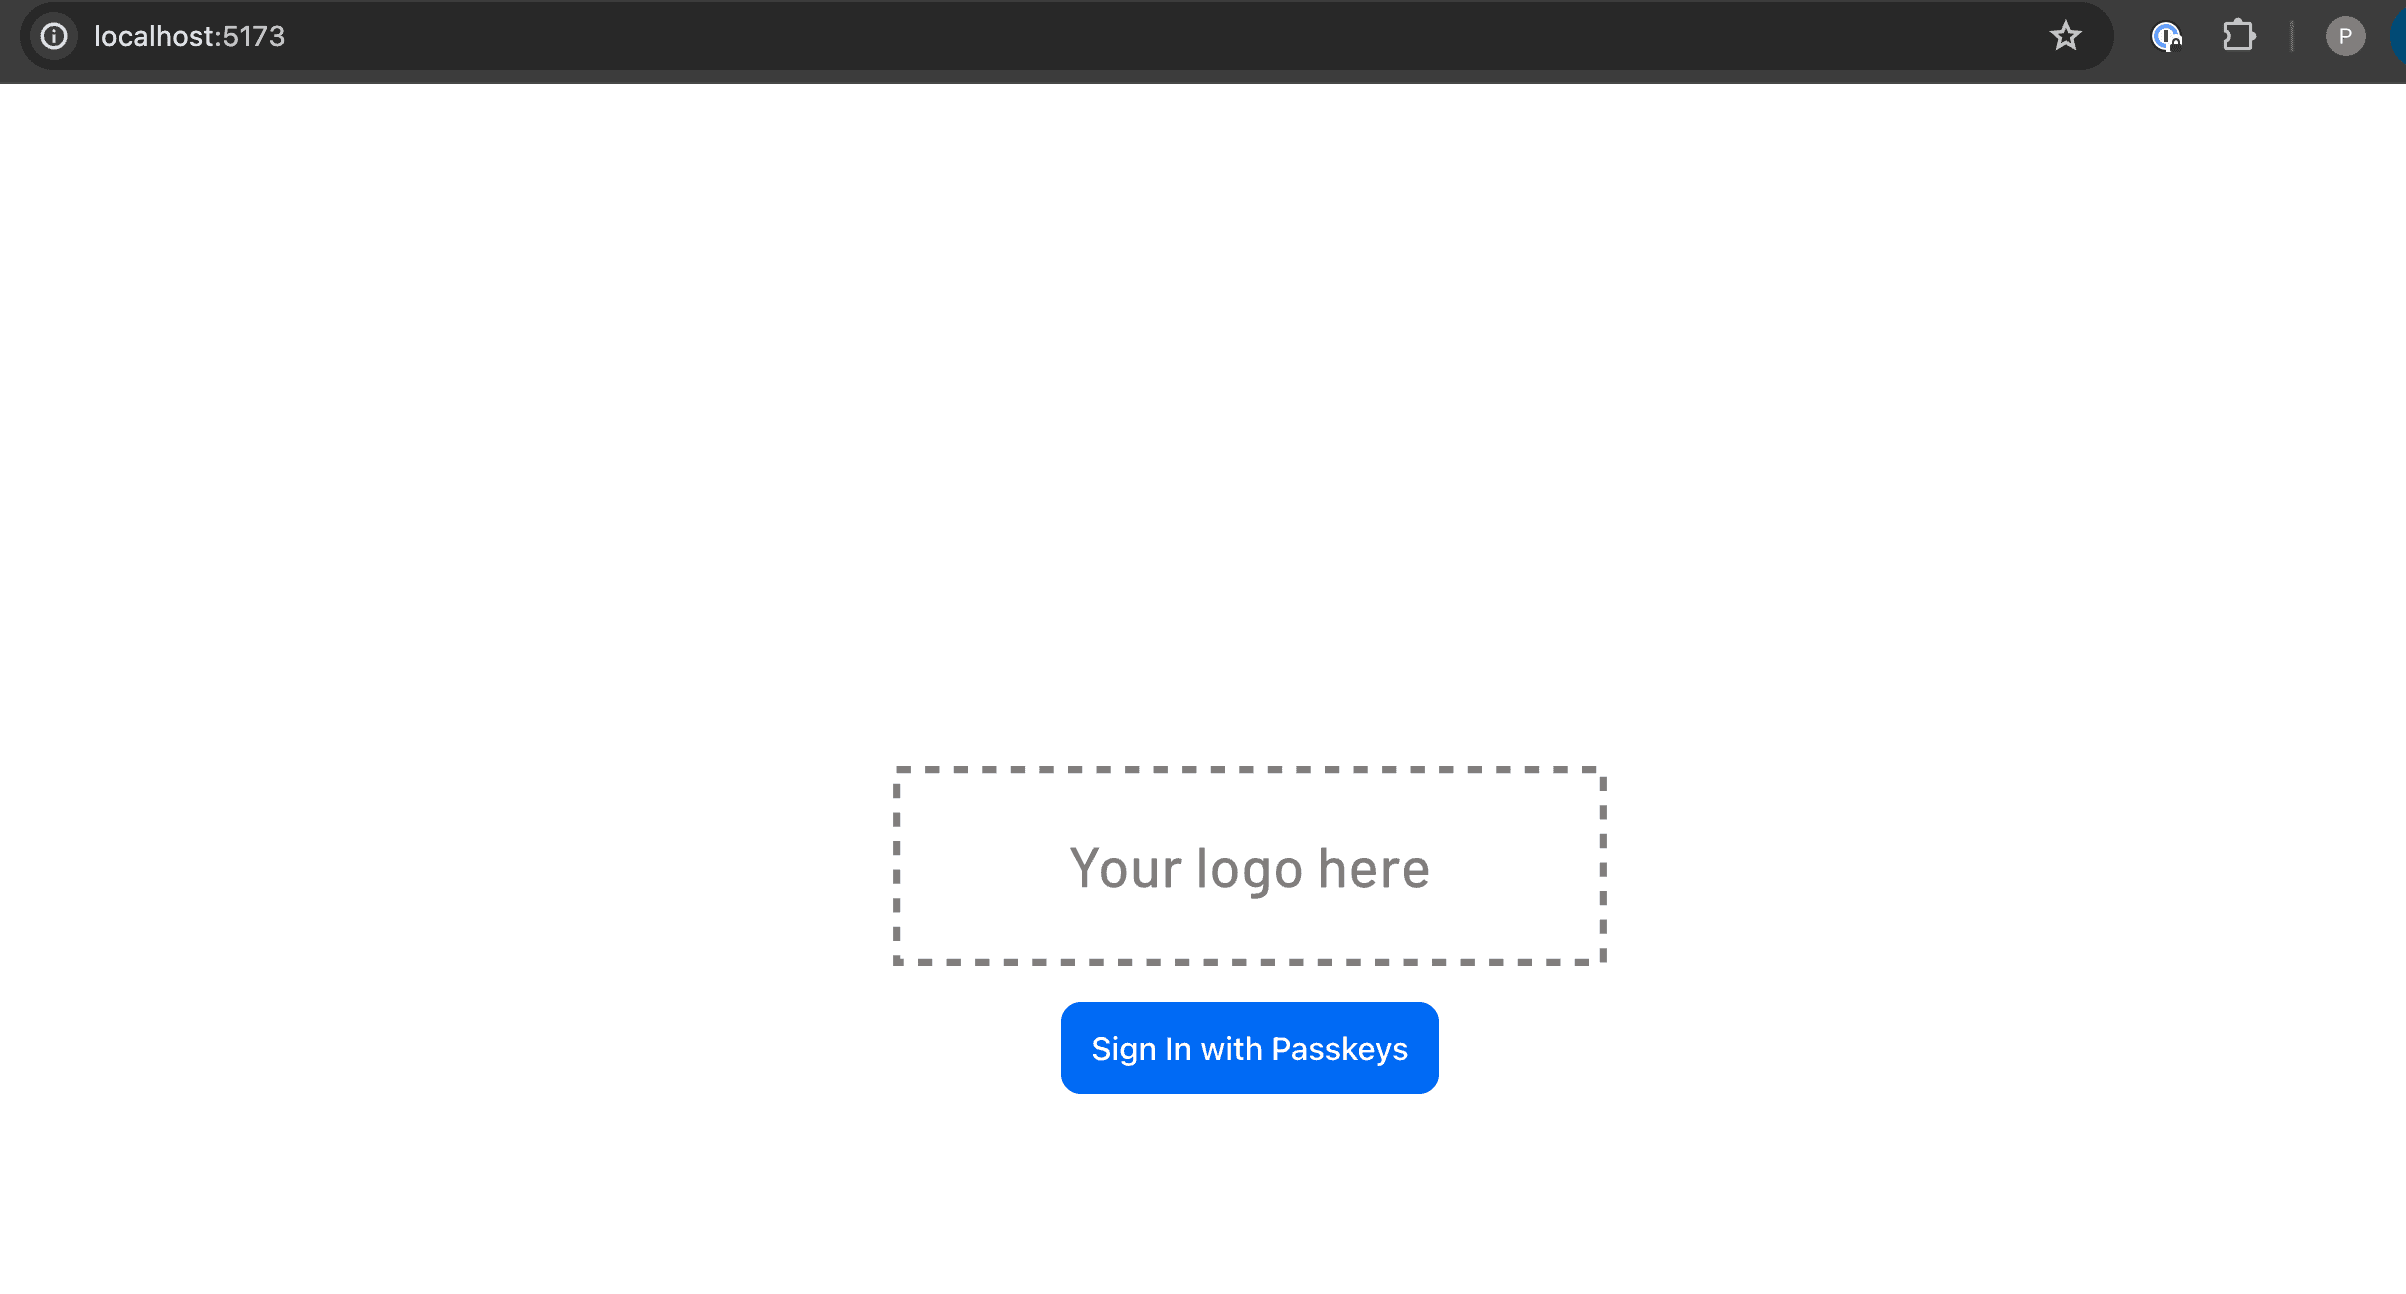
Now, let’s test passkeys on a laptop with a biometric fingerprint scanner or one that supports Face ID or Windows Hello. Once the app is running on your localhost, click the Sign In with Passkeys button.
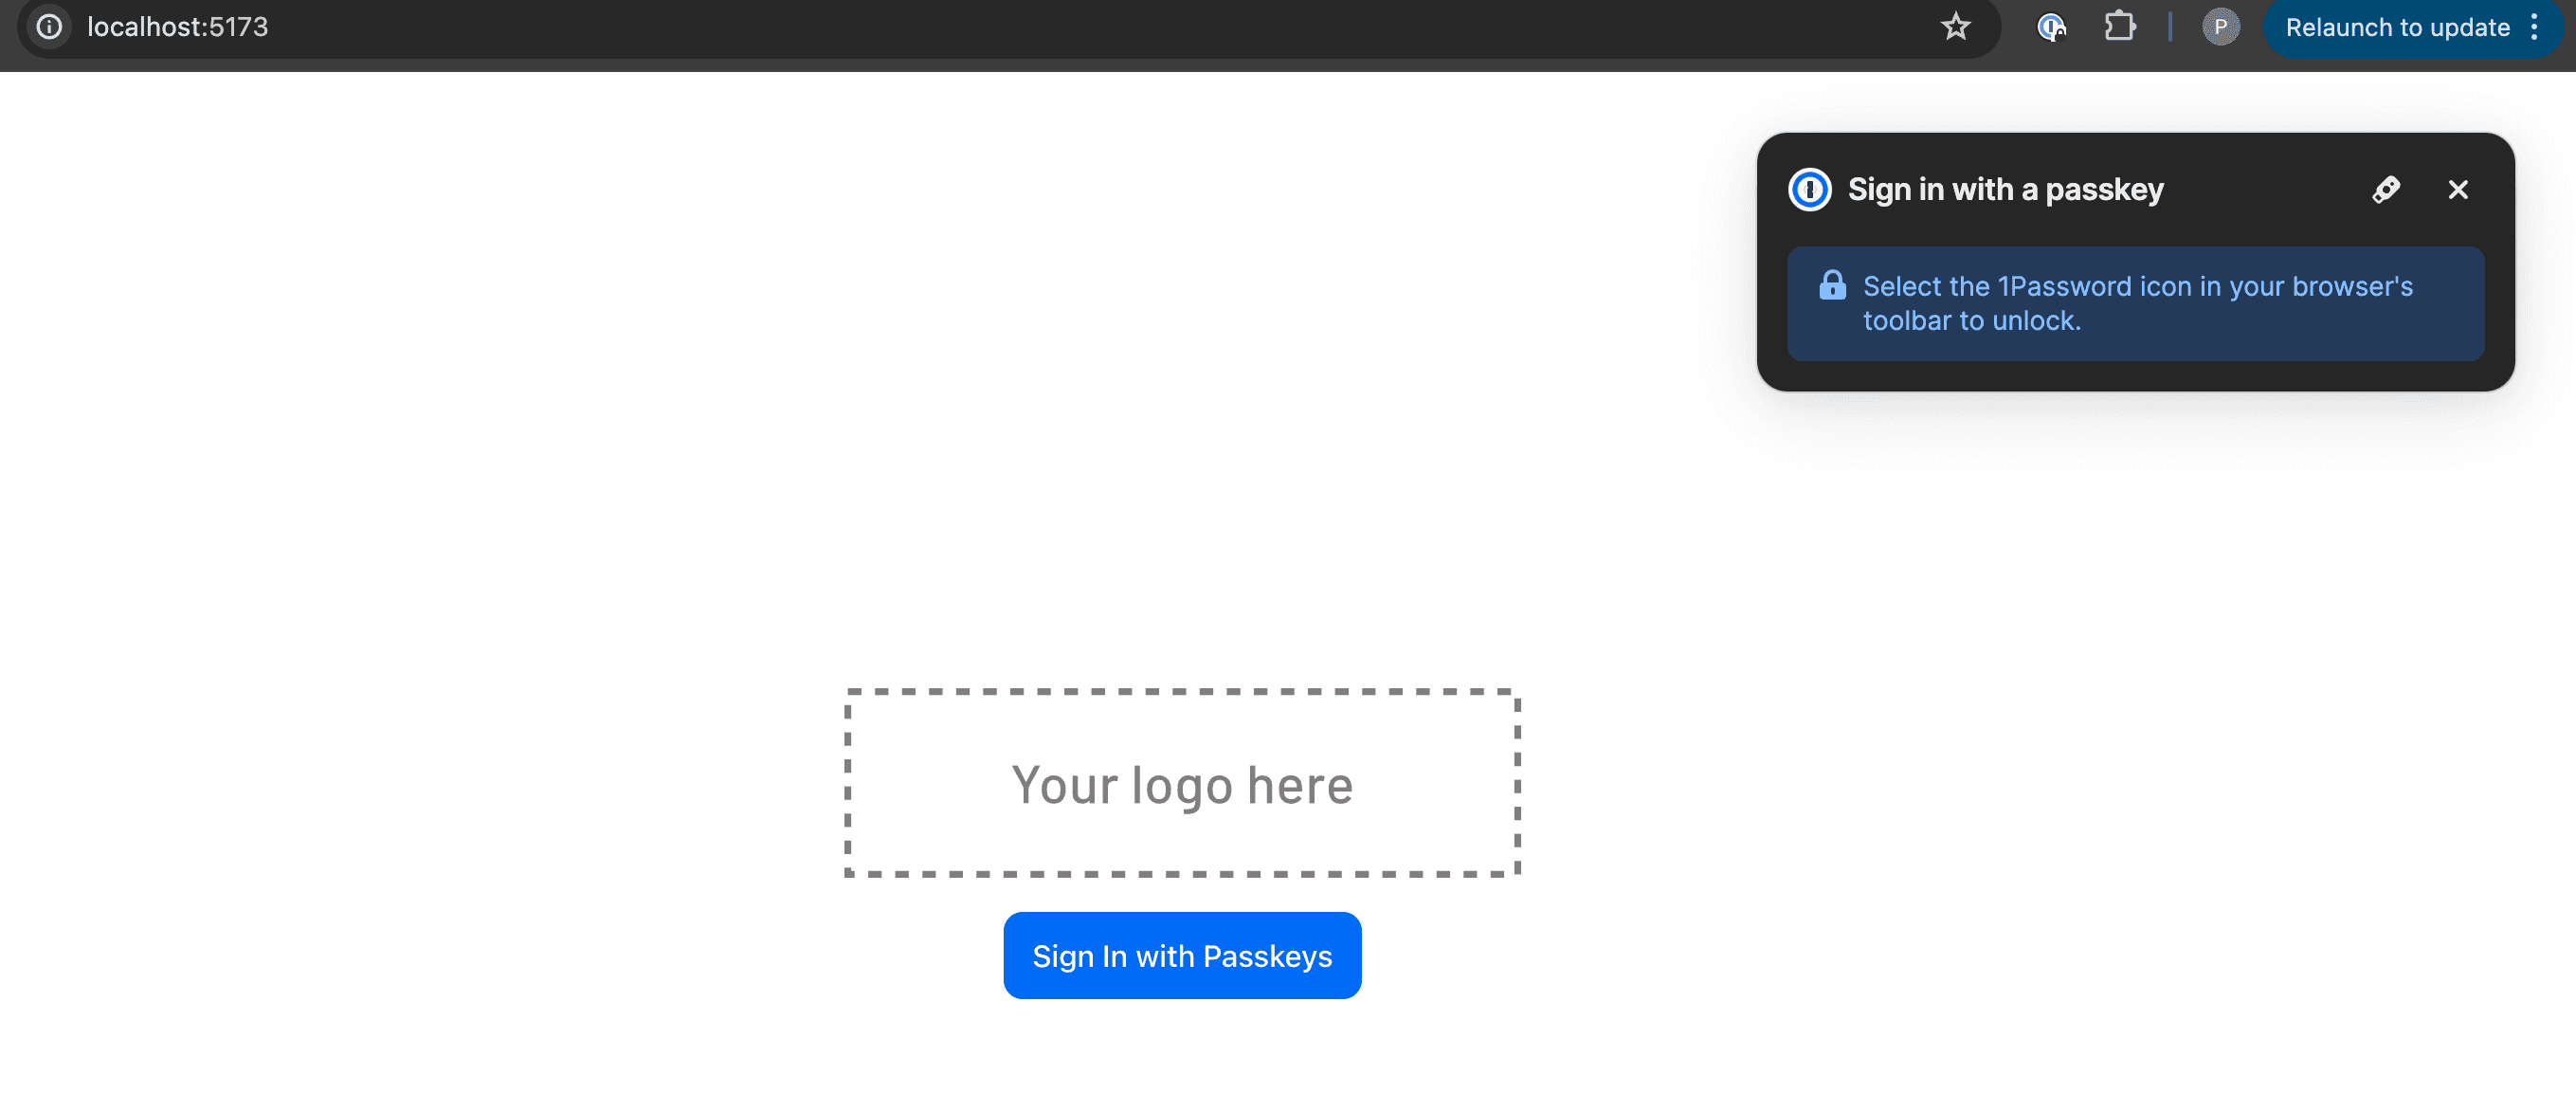
A browser prompt will appear, asking you to sign in with a passkey. Since no passkey is set up yet, click Cancel and enter your email instead.

Next, fill in your first and last name. This step is a part of progressive profiling, which you can learn more about in this article.
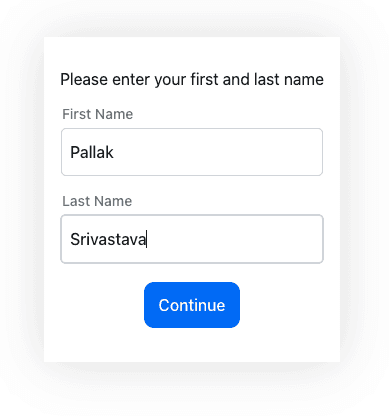
The browser will prompt you to create or save the passkey. We’ll create the passkey under the Google Chrome profile associated with this user.
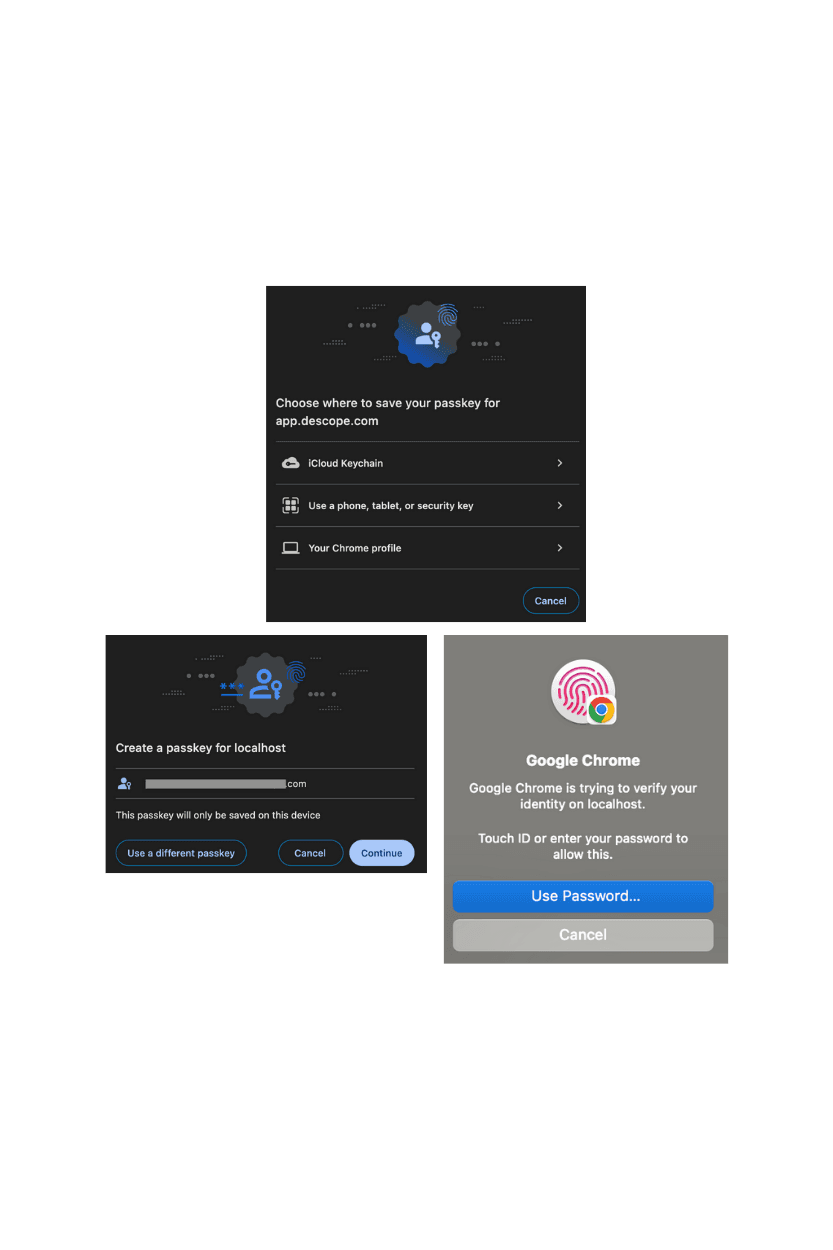
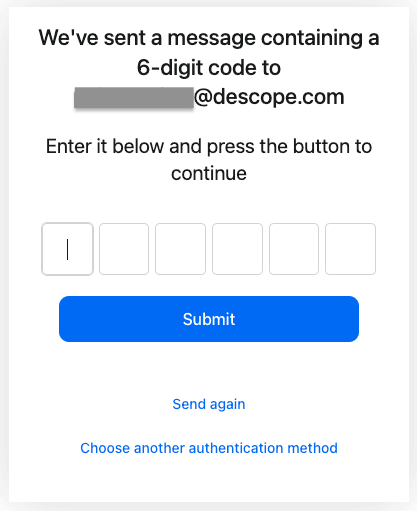
After you create the passkey under the Chrome profile, enter the verification OTP sent to your email and click Submit.
Woohoo! You have successfully set up a passkey and signed into the application.

Now, let’s test the sign-in flow:
Sign out of the app.
Click Sign In with Passkeys again.
Use your biometric scanner (fingerprint, Face ID, or Windows Hello) to authenticate with the locally stored passkey.
No password needed—you’re in!
Enabling cross-device passkey authentication
While this setup works perfectly on a single device, users will run into a problem when they try to sign in from another one. Since passkeys are tied to the original device, logging in from a new device would prompt them to go through the setup process again—only to receive an error stating that the user already exists.
To solve this, we need to make passkeys work seamlessly across multiple devices under the same user identity. Normally, this would involve working with the WebAuthn protocol and making extensive manual code changes to your app. But instead of dealing with that complexity, Descope Flows lets you enable cross-device passkeys with no code changes required.

The flow above handles this cross-device challenge by checking whether the user already exists in Descope. If they do:
The system verifies their identity by sending an OTP to their email.
Once verified, Descope sets up or updates passkeys for the new device, allowing seamless authentication moving forward.
This approach ensures users can securely access their accounts from any compatible device without unnecessary friction.
Testing out cross-device passkeys
Testing this app on your phone requires you to deploy it on Vercel, Heroku, or a similar deployment platform.
Follow these steps to sign into the app with passkeys:
Sign in to the app.
When prompted for a passkey, you’ll notice there isn’t one available for your user. Click Cancel.
The flow will then ask for your email address.
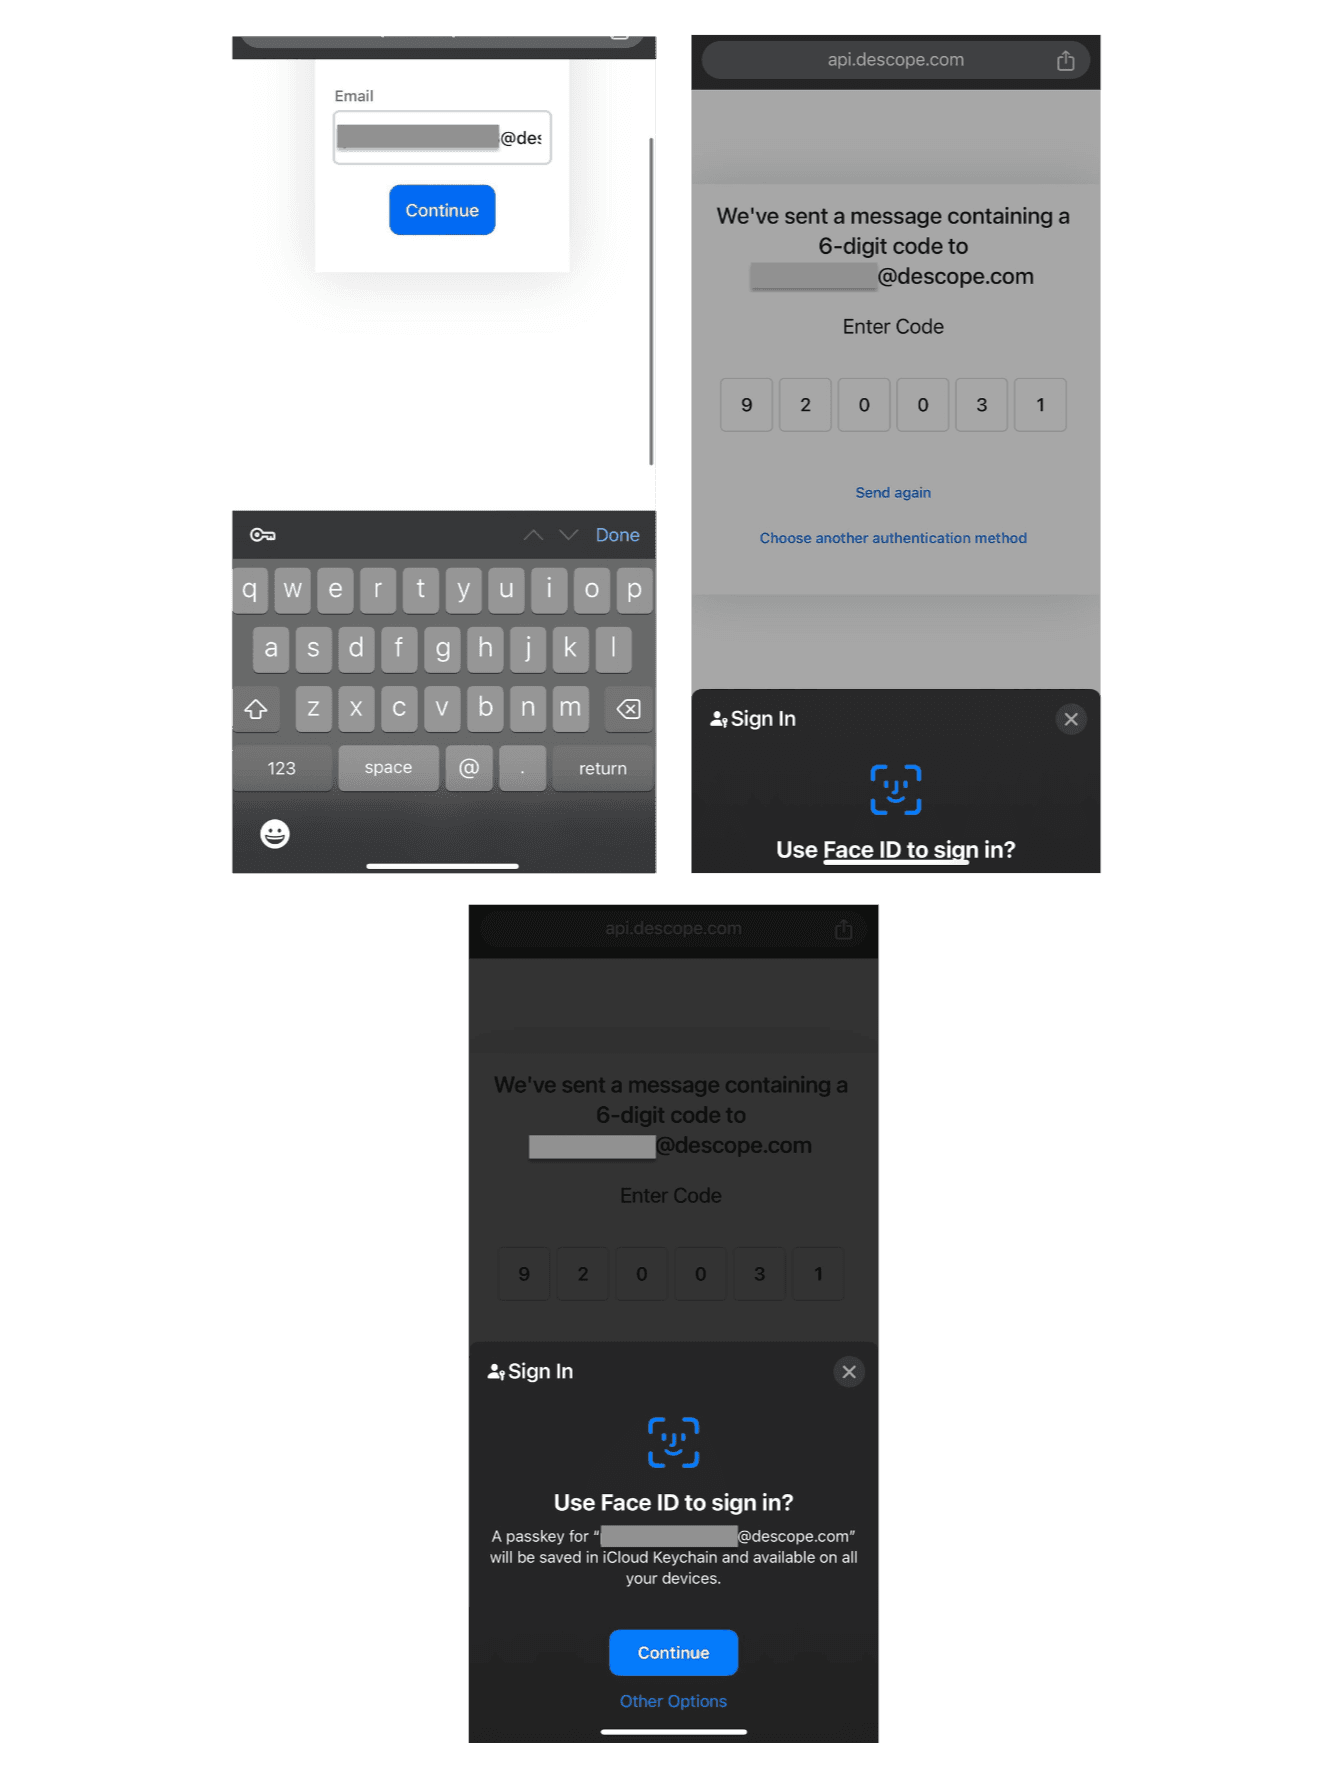
Verify your identity
Enter your existing Descope email address.
You’ll receive a verification OTP via email since this is your first time logging in on this device.
After verifying, you’ll set up your passkey on your phone.
You’ll be prompted to use Face ID (or another biometric method) to complete the login.
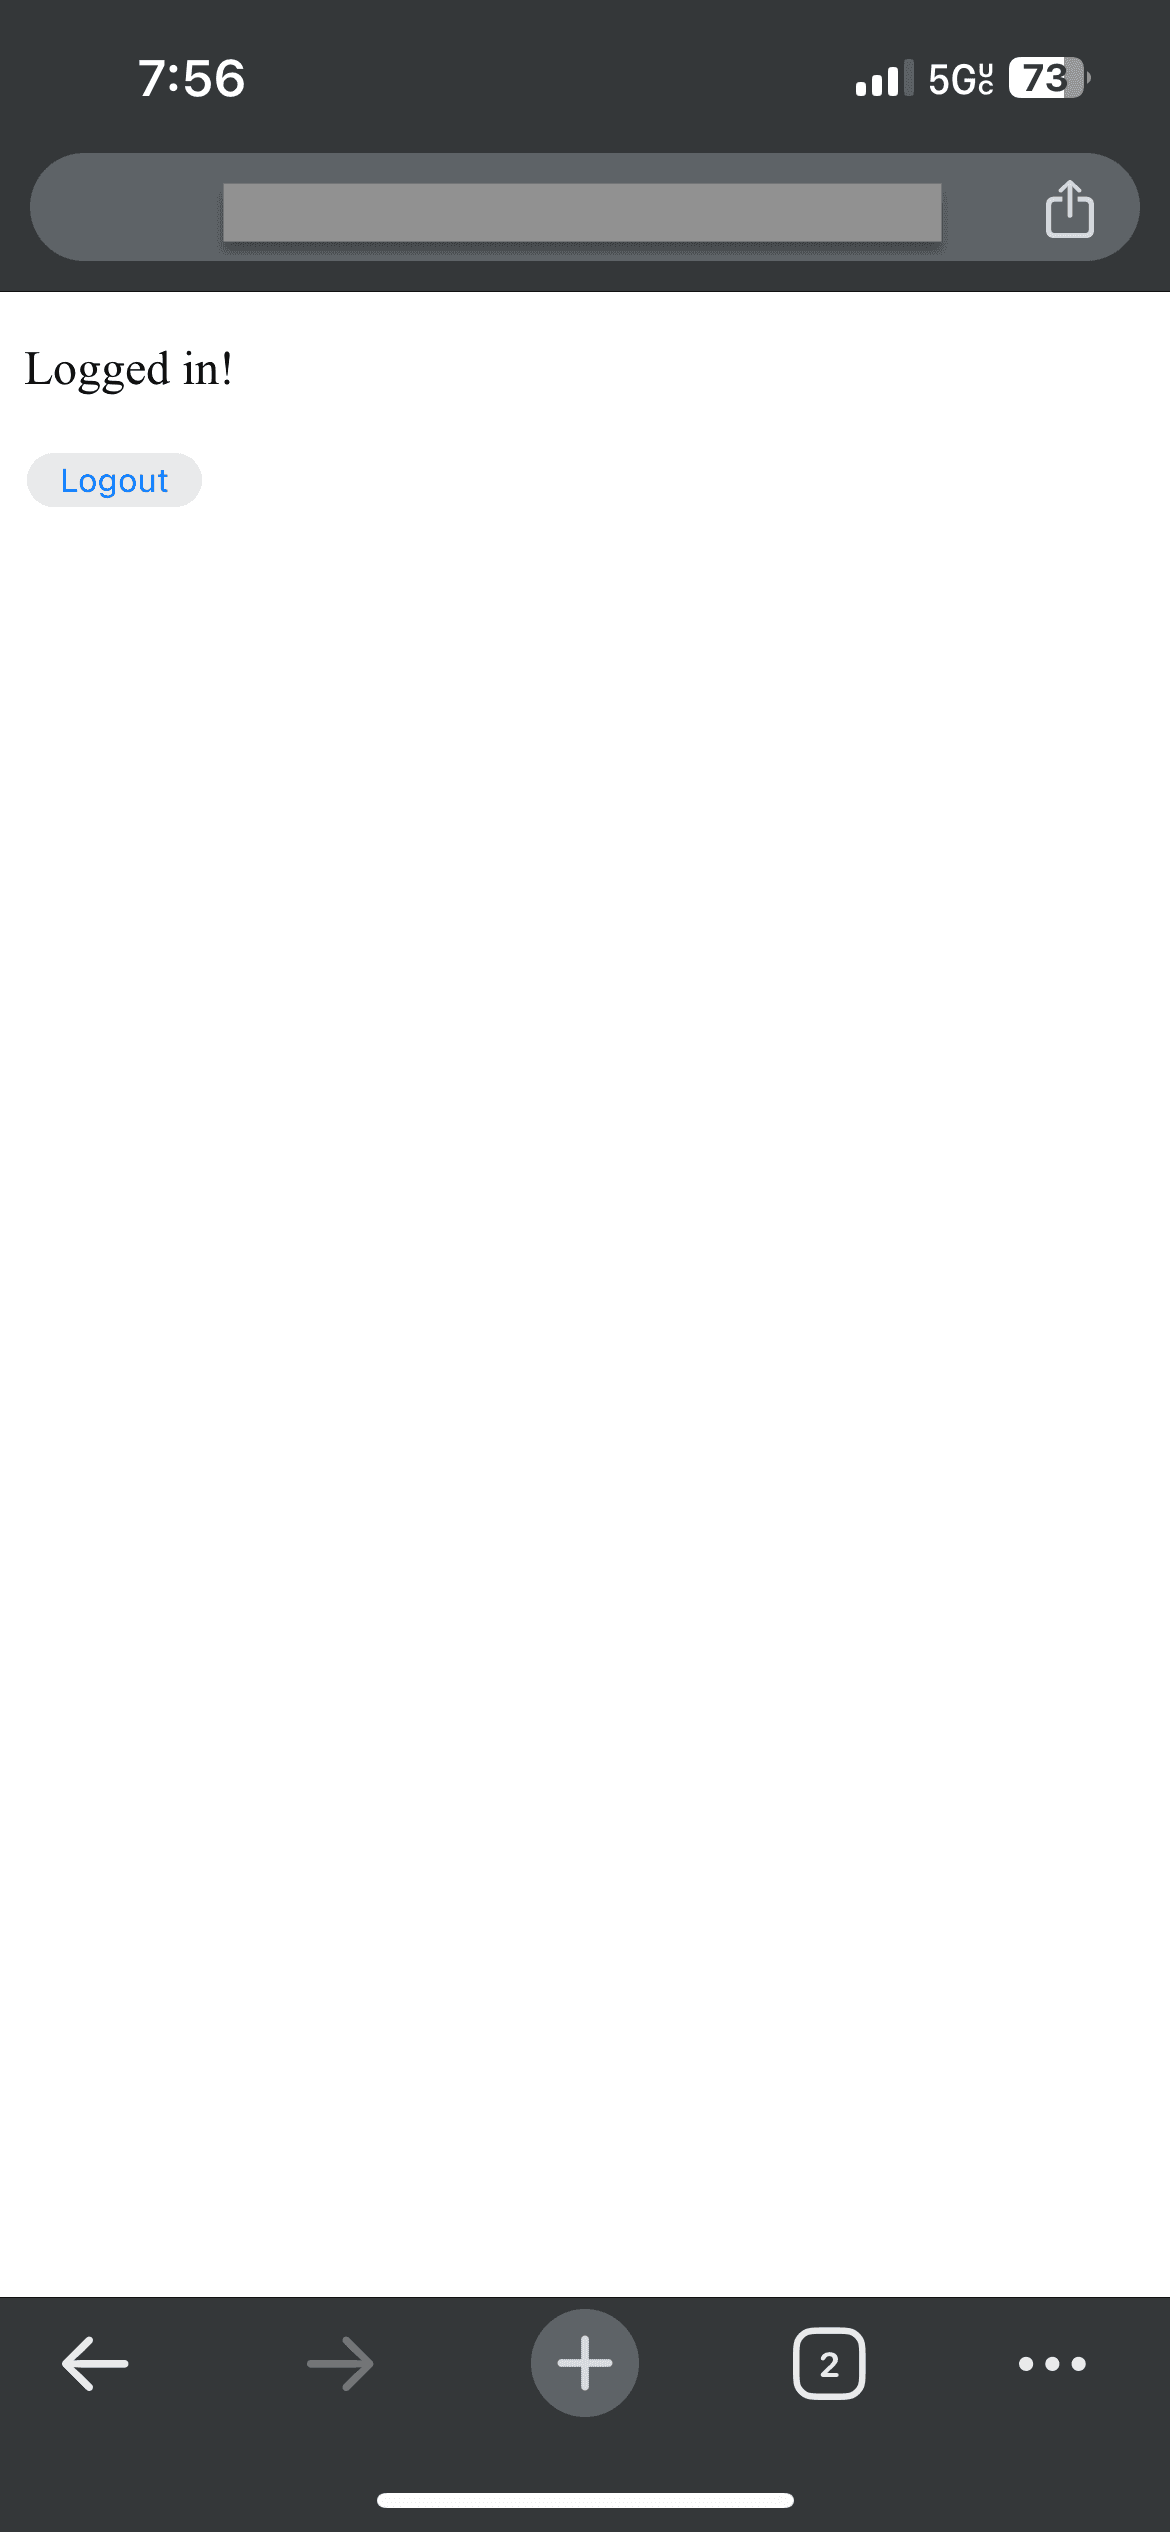
At this stage, you can log out and test the flow again. You should now be able to log in with your passkey, which is stored on your phone.
You’ve successfully logged in to your app using Descope Passkey authentication on your phone!
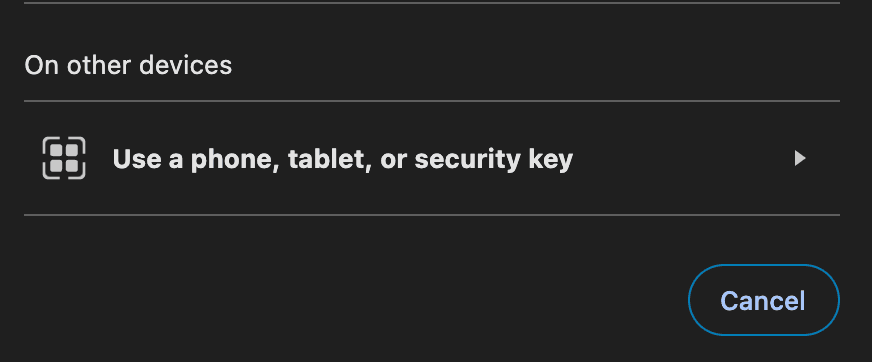
If the passkey is on the user's phone instead of their laptop, the process works in reverse. Your users will simply click On other devices when shown the Choose a Passkey prompt.
This will be followed by a Use a passkey from another device? dialog box, which will present them with a QR code to scan using their phone.
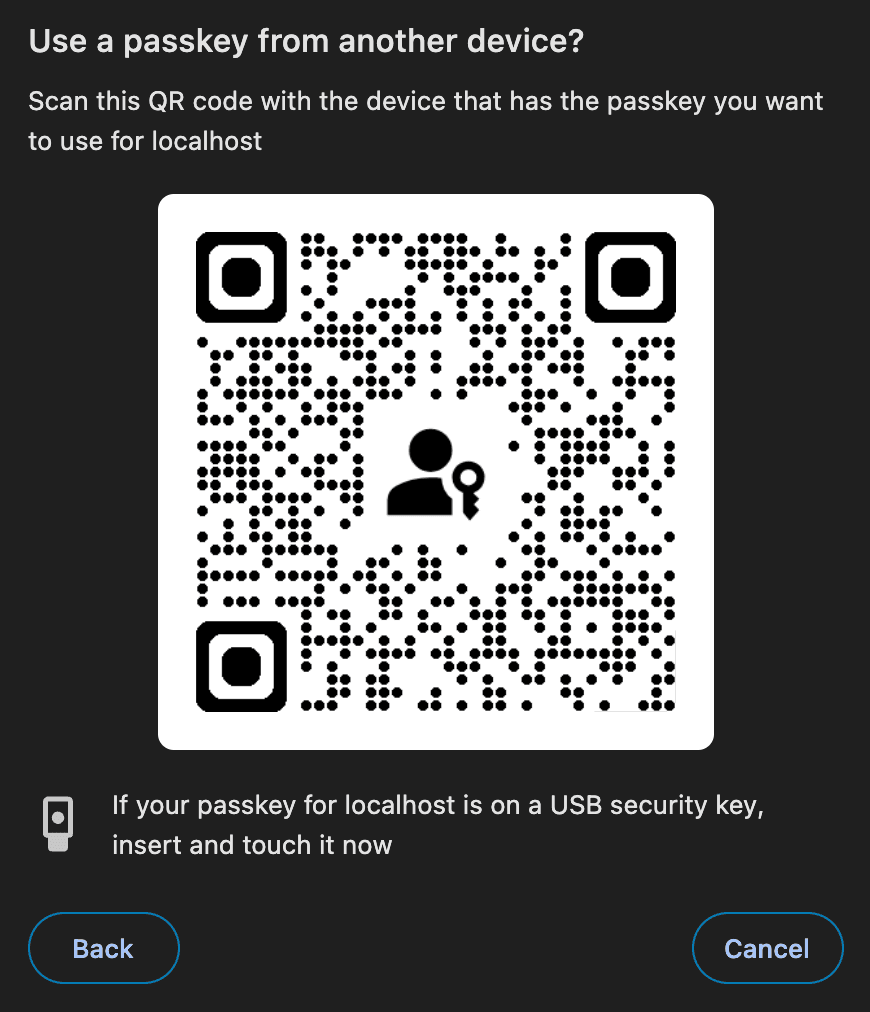
On the user’s phone, they will be able to choose the passkey related to the user trying to log in. After using Face ID or PIN, they will be logged into the app on their laptop.
Simple implementation of passkeys across devices with Descope
As we’ve shown, Descope Flows make adding passkeys easy and provide a straightforward solution for cross-device support through simple, customizable configurations. Flows also allow you to fully tailor your user authentication process without needing to modify your backend session validation, APIs, or user identity store. Whether you’re looking for a complete replacement or a supplement to your existing authentication system, Descope works as a flexible SAML/OIDC provider.
Interested in integrating Descope’s passkeys with a specific auth provider? Check out our detailed guides on adding passkeys to Auth0, Cognito, Okta CIS, and Firebase.
Have questions about our platform? Book a demo with our team.
Power of Descope Flows
This blog is part of our “The Power of Descope Flows” series, where we explore how our drag & drop CIAM platform can be used to effortlessly add, modify, and update authentication processes for any app or website. Be sure to check out our other tutorials, including ones on: