
Table of Contents
A smooth and secure authentication experience is a crucial element of a well-designed mobile app. Users expect to sign in effortlessly without being bounced to external browsers or dealing with clunky, unintuitive login screens. Traditionally, developers have faced a difficult tradeoff: rely on browser-based authentication flows (which can feel disconnected and lead to drop-offs) or implement basic username and password authentication (which compromises both security and user experience).
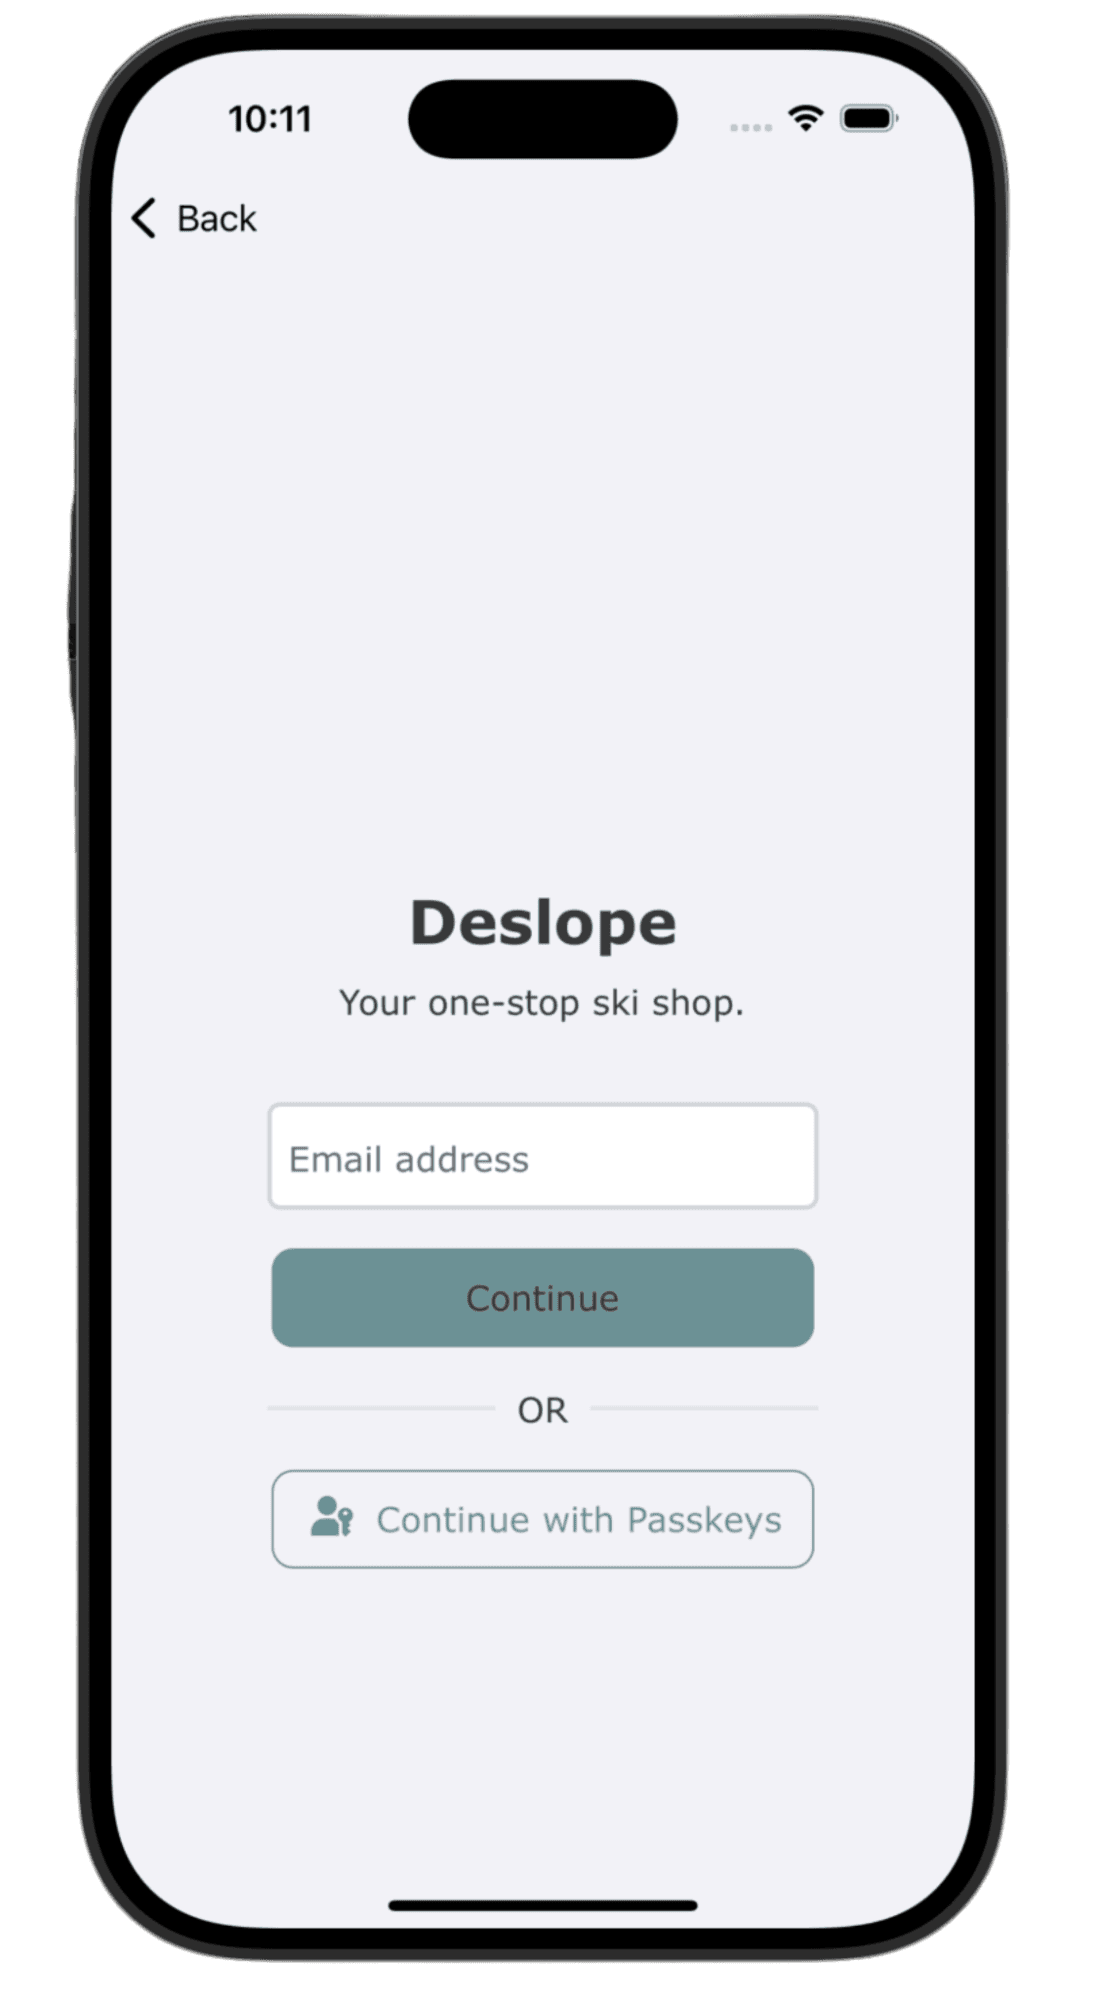
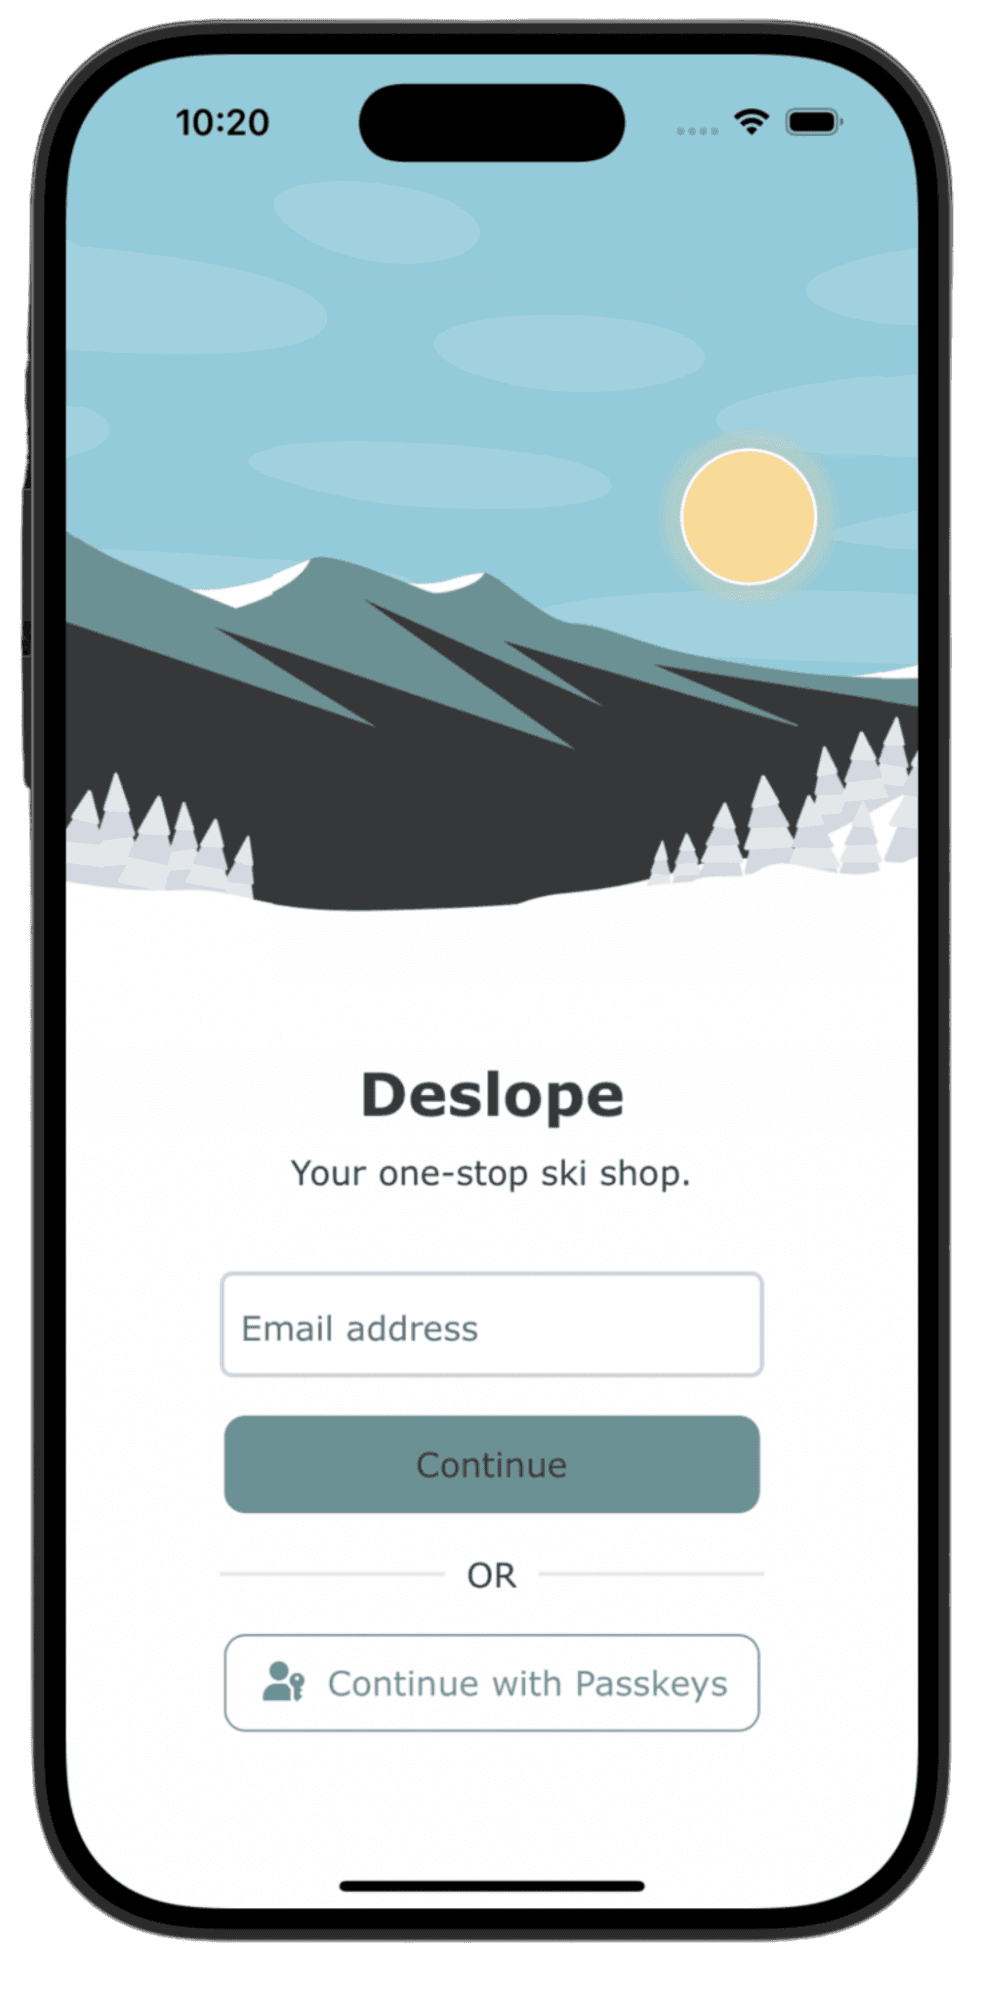
Descope Native Flows eliminate this tradeoff by providing a fully integrated, secure, and user-friendly way to authenticate users within your app. Whether you're using passkeys, magic links, or social login, Native Flows ensure a seamless login experience that keeps users engaged while maintaining best-in-class security.
In this blog, we’ll explore how to implement Descope’s native authentication flows in Swift and why they’re a game-changer for modern app development.
Why integrate native authentication?
Many iOS applications default to browser-redirected authentication, where users are sent to Safari or an in-app browser window to complete their login. While this approach works, it introduces several challenges:
1. Disrupted user journey and increased abandonment
When users are redirected outside your app to authenticate:
Conversion rates often suffer as the context switch creates hesitation and confusion
Users must navigate additional steps to return to your app after login, creating friction
2. Challenging session and state management
Browser-based authentication relies on cookies and external session storage, creating complications:
App sessions may not persist properly between launches
Sign-out operations can become inconsistent, with users logged out of the app but still authenticated in the browser
Token refresh flows require browser interaction, making smooth authentication renewal difficult
3. Vulnerability to browser configurations
External authentication introduces dependencies beyond your control:
User-configured privacy settings can interfere with authentication cookies
Incognito browsing and similar features may prevent proper session maintenance
Browser caching policies can impact authentication performance
Native authentication solves these problems by embedding the authentication flow directly within your Swift application via specialized webviews that appear fully native. This approach provides:
Continuous in-app experience that prevents users from leaving your application during login
Visual consistency with your app's design language and branding throughout the authentication process
Authentication adaptability to implement different methods based on user context or device capabilities
Reliable session handling that gives your app complete control over authentication state
Why use Descope Native Flows?
Descope Native Flows for Swift offer a seamless, secure, and user-friendly way to authenticate users—without the usual tradeoffs:
Fully In-App Experience - Descope’s native authentication happens within your app. This ensures a smooth and uninterrupted user experience from login to full app access.
Effortless Passwordless Authentication - With built-in support for passkeys, magic links, social logins, and more, Descope eliminates the need for passwords while enhancing security and usability. Users can log in with methods they trust, leading to faster and safer authentication.
Cross-Platform Consistency - Whether users sign in through your mobile app or website, you can ensure a unified authentication experience across platforms. This reduces confusion, maintains brand consistency, and enables seamless session management for a frictionless user journey.
Flexible Authentication Flows - With Descope, you get the same flexibility across both native mobile and web flows, allowing you to customize authentication methods, multi-factor authentication (MFA), and user journeys. Plus, you can modify your authentication flow in real time without needing to redeploy your app—giving you the agility to adapt quickly to changing requirements.
Setting up Descope Native Flows in a Swift app
Let’s walk through how we added Descope Native Flows in our Swift Sample App.
1. Add Descope Swift SDK
First, we need to add the Descope-Swift package (our Swift SDK) using the Swift package manager.
Within XCode, go to File > Add Packages and search for the URL of the git repo: https://github.com/descope/descope-swift.
Then, configure your desired dependency rule and click "Add Package."
2. Initialize the Descope Swift SDK with your Descope Project Id and Base URL
In the below example, we fetch the required Descope config values from the project settings, but you can pass constant String values to the Descope.setup call as well.
import DescopeKit

func application(_ application: UIApplication, didFinishLaunchingWithOptions launchOptions: [UIApplication.LaunchOptionsKey: Any]?) -> Bool {

        let localProjectId = Bundle.main.infoDictionary!["myProjectId"] as! String
        let localBaseURL = Bundle.main.infoDictionary!["myBaseURL"] as! String

        Descope.setup(projectId: localProjectId) { config in
            config.baseURL = localBaseURL
            config.logger = DescopeLogger()
        }
    }
3. Set up view controllers, based on user authentication status
We will use the Descope session management tools to check for an available session. If there is a valid session, the user will be presented with the app’s home screen. If there is no valid session, the user will see an authentication screen, which we will define in the next step.
// show home screen if user is already logged in, otherwise show authentication screen
        let initialViewController: UIViewController
        if let session = Descope.sessionManager.session, !session.refreshToken.isExpired {
            initialViewController = AppInterface.createHomeScreen()
        } else {
            initialViewController = AppInterface.createAuthScreen()
        }

        window = UIWindow(frame: UIScreen.main.bounds)
        window?.rootViewController = initialViewController
        window?.makeKeyAndVisible()

        return true
4. Run your flow on an authentication screen
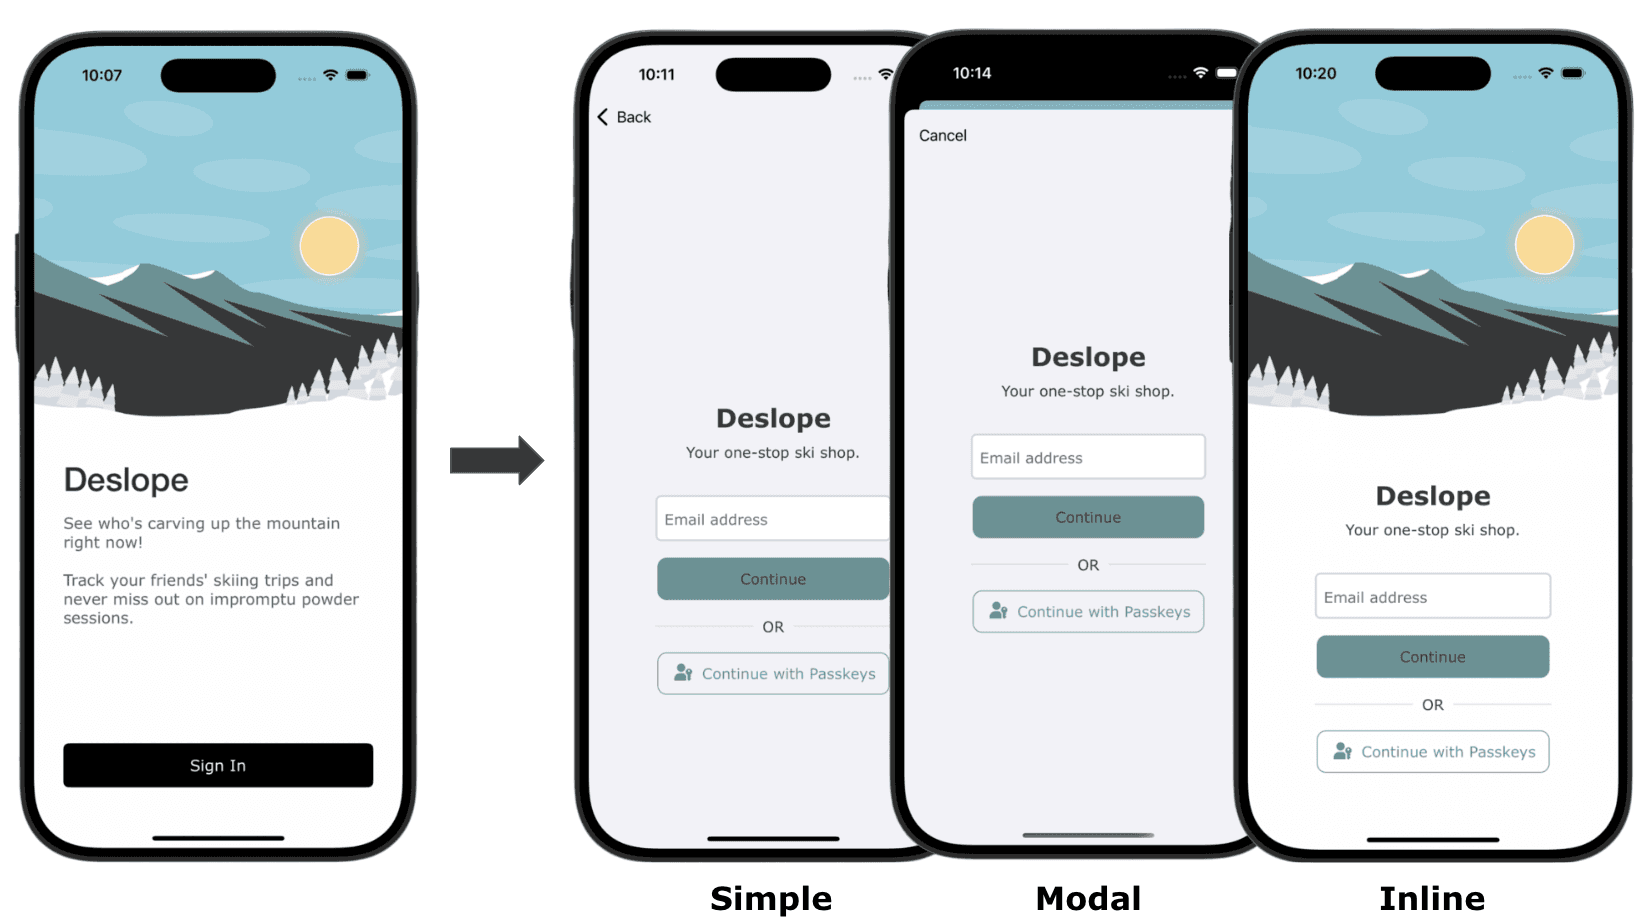
With Native Flows, you can choose your flow view type to tailor your authentication page to your exact requirements.
Simple flow view
A “simple” flow view pushes a DescopeFlowViewController onto a UINavigationController stack.
   /// This action is called when the user taps the Sign In button
    @IBAction func didPressSignIn() {
        print("Starting sign in with flow")
        showFlow()
    }

    /// Creates a new DescopeFlowViewController, loads the flow into it, and pushes
    /// it onto the navigation controller stack
    func showFlow() {
        // create a new flow object
        let flow = DescopeFlow(url: "<your-base-url>/login/<your-project-id>?flow=<your-flow-id>&shadow=false")

        // create a new DescopeFlowViewController and start loading the flow
        let flowViewController = DescopeFlowViewController()
        flowViewController.delegate = self
        flowViewController.start(flow: flow)

        // push the view controller onto the navigation controller
        navigationController?.pushViewController(flowViewController, animated: true)
    }
Modal flow view

A “modal” flow view creates a DescopeFlowViewController and preloads the flow in the background, so that when the user presses the Sign In button the flow is already fully ready.
@IBAction func didPressSignIn() {
        print("Starting sign in with flow")

        switch flowViewController.state {
        case .initial, .failed:
            // the flow hasn't been started or needs to be restarted
            shouldShowFlow = true
            startFlow()
            showLoadingStarted()
        case .started:
            // the flow has already been started, so just wait until it's ready
            shouldShowFlow = true
            showLoadingStarted()
        case .ready:
            // the flow is ready so present it immediately
            presentFlow()
        case .finished:
            break // shouldn't happen
        }
    }

func startFlow() {
        // create a new flow object
        let flow = DescopeFlow(url: "<your-base-url>/login/<your-project-id>?flow=<your-flow-id>&shadow=false")

        // we present the flow full screen so we use a flow hook to disable scrolling
        flow.hooks = [
            .setupScrollView({ scrollView in
                scrollView.isScrollEnabled = false
                scrollView.contentInsetAdjustmentBehavior = .never
            }),
        ]

        // start loading the flow
        flowViewController.delegate = self
        flowViewController.start(flow: flow)
    }
Inline flow view
An “inline” flow view creates a DescopeFlowView instead of a controller, embeds the view into the view hierarchy, and shows it with custom animation.
@IBAction func didPressSignIn() {
        print("Starting sign in with flow")

        switch flowView.state {
        case .initial, .failed:
            // the flow hasn't be started or needs to be restarted after failure
            shouldShowFlow = true
            startFlow()
            showLoadingStarted()
        case .started:
            // the flow has already been started, so just wait until it's ready
            shouldShowFlow = true
            showLoadingStarted()
        case .ready:
            // the flow is ready so show it immediately
            showFlowView()
        case .finished:
            break // shouldn't happen
        }
    }

func startFlow() {
        // create a new flow object
        let flow = DescopeFlow(url: "<your-base-url>/login/<your-project-id>?flow=<your-flow-id>&shadow=false")

        // since we're presenting the flow inline in our view hierarchy we use a flow hook to
        // override the page background to be transparent and hide the scroll bars
        flow.hooks = [
            .setTransparentBody,
            .setupScrollView({ scrollView in
                scrollView.showsVerticalScrollIndicator = false
            })
        ]

        // start loading the flow
        flowView.delegate = self
        flowView.start(flow: flow)
    }
5. Handle authentication errors
Now, we can set up error handling in case the flow fails. In this function, we hide the flow view and show the welcome view again. We then reset the loading indicator, to allow the user to press the Sign In button again, and show the error message.
func flowViewDidFail(_ flowView: DescopeFlowView, error: DescopeError) {
        print("Authentication failed: \(error)")
        resetFlowView()
        showLoadingFinished()
        showError(error)
    }
6. Handle successful authentication
We must also define a function to handle successful authentication. Here, we simply pass the session from the Authentication Response to the Descope session manager, and show the home page of the app.
func flowViewDidFinish(_ flowView: DescopeFlowView, response: AuthenticationResponse) {
        let session = DescopeSession(from: response)
        Descope.sessionManager.manageSession(session)
        print("Authentication finished")
        showHome()
    }
Enable associated domains for OAuth, magic links, and passkeys
Swift associated domains allow your application to establish a relationship with specific domains. By managing communication with predefined external web services, associated domains enable a seamless return experience for authentication methods where a user must momentarily leave the app to authenticate.
Configuring associated domains is a required step for certain authentication methods, like OAuth social logins, magic links, and passkeys. Let’s walk through how to set them up!
Within your Swift application’s Entitlements File, add two associated domains. applinks:<your-base-url> will enable OAuth and magic link app links, and webcredentials:<your-base-url> will enable passkeys.

To finish setting up the app links, complete the associated domain file steps in Apple’s guide to supporting associated domains.
Once the associated domains are enabled, you can set up a handler to pass incoming app links to the current flow.
   func application(_ application: UIApplication, continue userActivity: NSUserActivity, restorationHandler: @escaping ([UIUserActivityRestoring]?) -> Void) -> Bool {
        // pass any incoming Universal Links to the current flow in case we're
        // using Magic Link authentication in the flows
        guard userActivity.activityType == NSUserActivityTypeBrowsingWeb, let url = userActivity.webpageURL else { return false }
        let handled = Descope.handleURL(url)
        return handled
    }
Now, when a user authenticates externally, they will make a seamless return to the application, and be able to pick up exactly where they left off.
Use case: magic link & social login
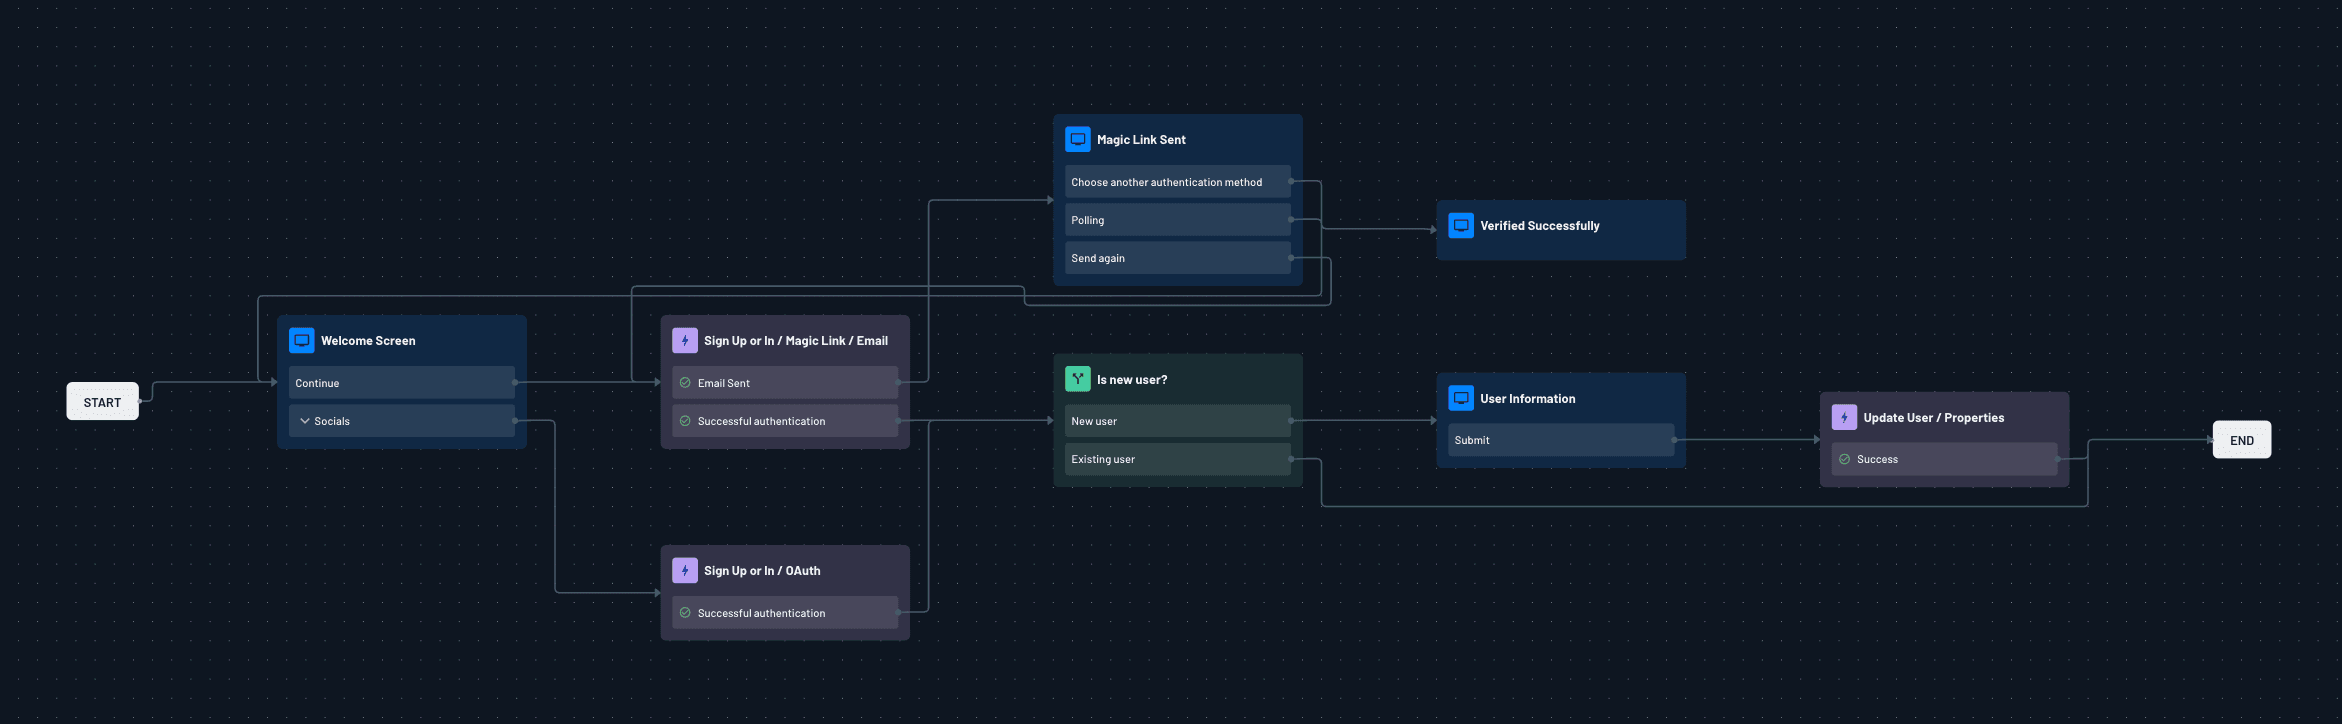
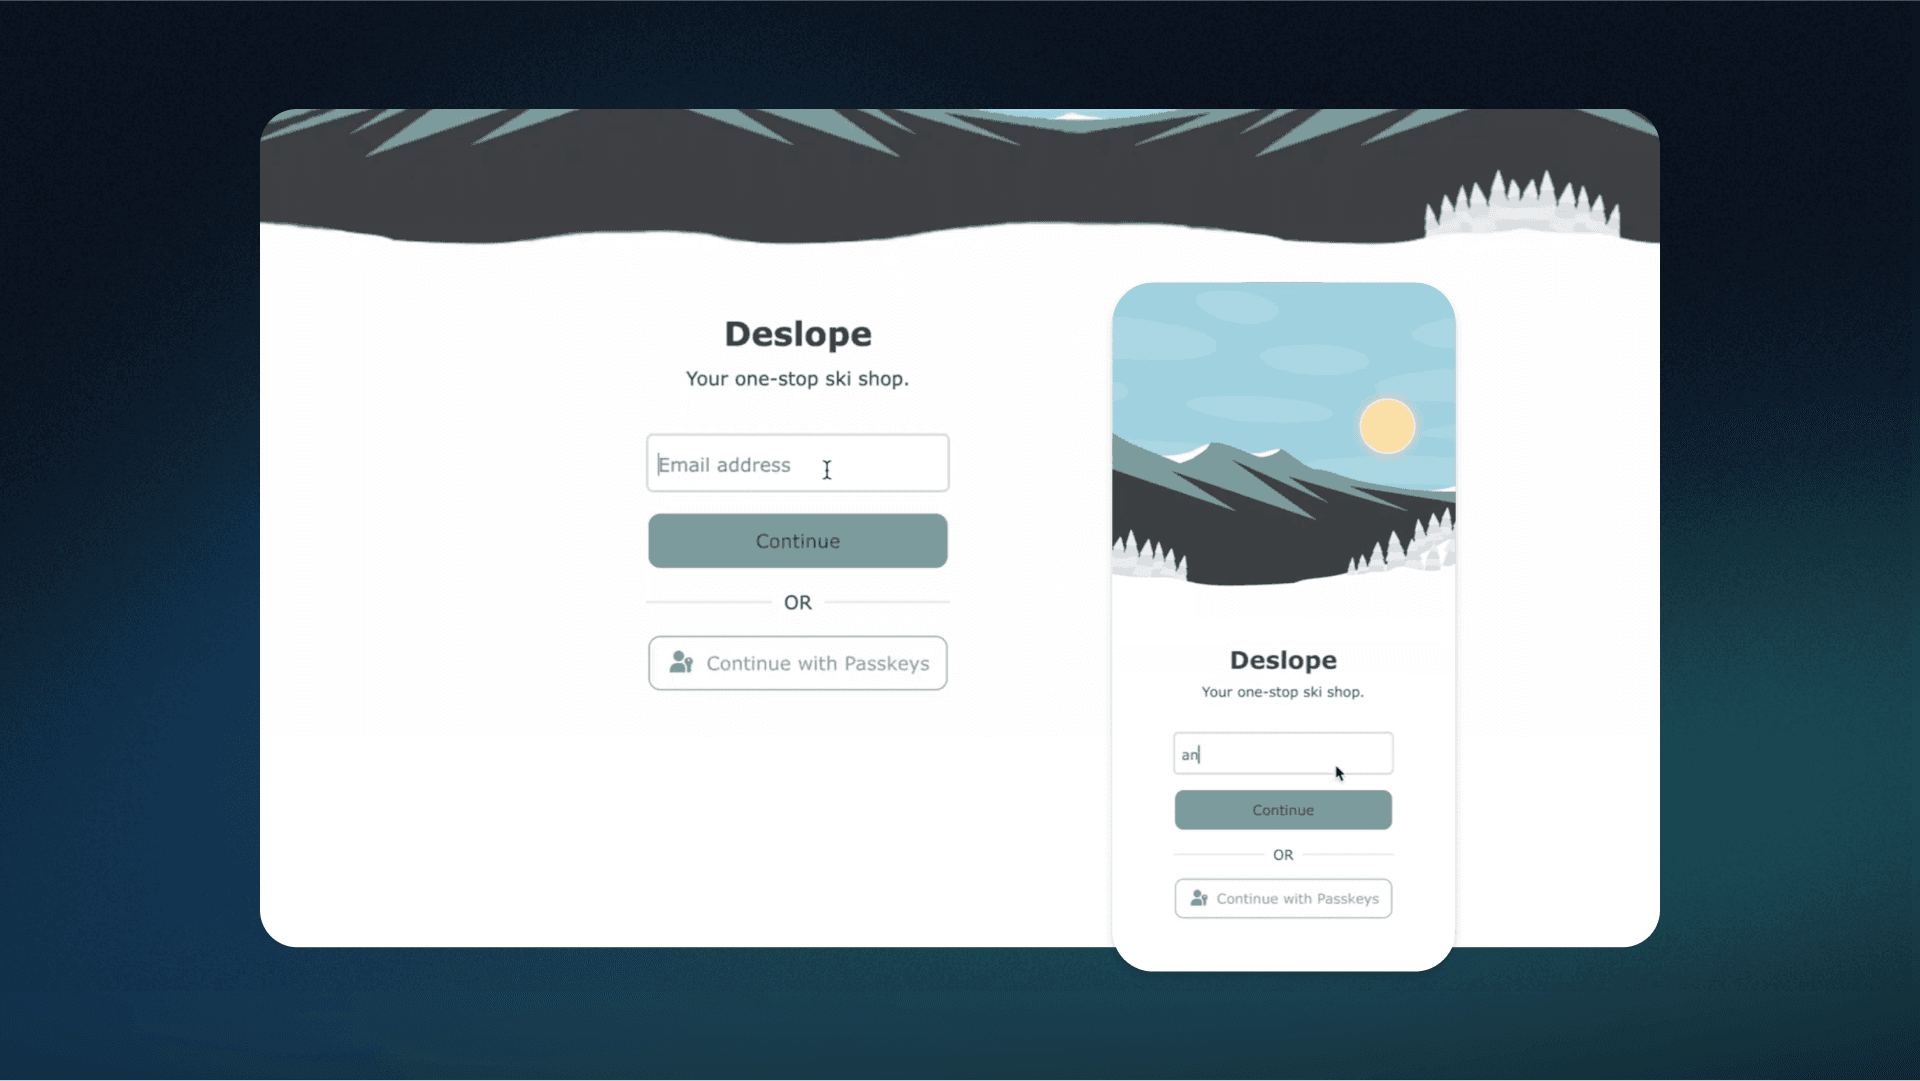
If you want to provide users with a way to log into your app without requiring passwords, leverage magic links or third-party social login options.
With magic links, users enter their email address or phone number, and instead of remembering a password, they receive a one-time-use link that automatically logs them into the app. This is a great way to remove friction for users, improving both security and the overall experience. Users simply click the link sent to their inbox to sign in. With Descope Native Flows and app links, the link will take the users straight back to the originating application with an authenticated session.
Additionally, social login options like Google, Facebook, or Apple allow users to authenticate using their social accounts, further enhancing convenience. This method avoids the hassle of creating new accounts and managing additional credentials, while also ensuring that user data is handled securely and privately. Traditionally, social login in mobile applications has required multiple browser redirects. Now, with Native Flows, the browser will only open on the actual authentication step, and will seamlessly return users to the flow to continue their onboarding journey once they are authenticated.
Use case: passkeys
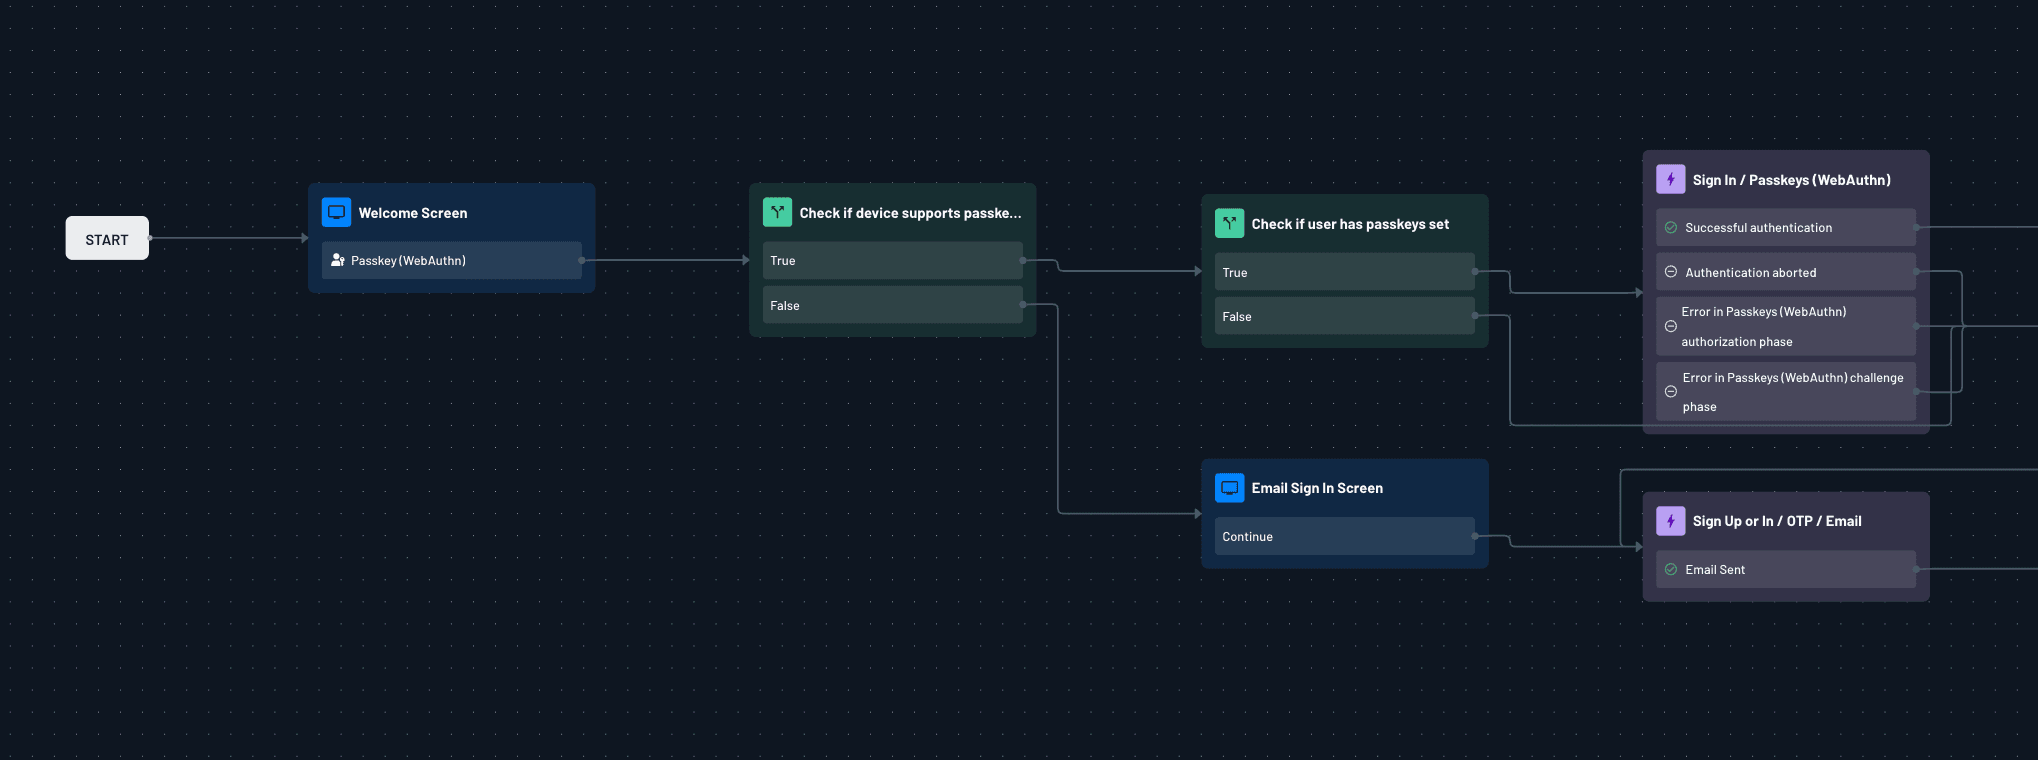
Passkeys are another passwordless authentication method that are both secure and easy for users to manage. Passkeys are stored securely on a user’s device (such as their iPhone, iPad, or Mac) and can be used to log in across apps and websites, making them highly convenient and secure.
After setting up app domains in your Swift app, within an authentication flow, you will be able to store and access passkeys for authentication on the user’s device.
If you have a mobile application and a website with the same user base, check out our guide on enabling cross-device passkeys to allow users to sign in with passkeys on both platforms.
Use case: progressive profiling

If you want to gradually collect additional user information over time, ensuring a non-intrusive user experience while still gathering valuable data, consider adding a progressive profiling flow to your Swift app.
Progressive profiling is a strategy where you collect user data incrementally rather than asking for all information upfront. Initially, users may only need to provide their email address to create an account. Over time, as users engage more with the app, they may be prompted for additional details, such as phone number, address, or preferences, but in a way that doesn’t disrupt their experience.
You can share the progressive profiling flow across both your website and Swift app, and tailor the prompts based on user activity from both platforms. For example, if a user has already been prompted for their email address on your website, when they authenticate with your app, you can now ask for additional details.
This method ensures that users don’t feel overwhelmed or frustrated with long registration forms, and it allows you to collect data as it becomes relevant for a more personalized experience, such as personalized content or tailored offers.
Creating seamless auth experiences with Descope Native Flows
Integrating Descope's Native Flows in your Swift app offers an efficient and user-friendly way to authenticate users without compromising security or user experience. Whether you choose passkeys, magic links, or social login, Descope’s Native Flows provide seamless and flexible solutions that reduce friction, enhance security, and improve engagement.
With native authentication, you can provide a consistent cross-platform experience, ensuring that users enjoy the same smooth and secure login process whether they’re accessing your app via mobile or the web. Additionally, Descope’s flexible authentication flow options empower you to modify user journeys without needing to redeploy your app, giving you the agility to adapt to changing user needs and business requirements.
By implementing Descope’s Native Flows in Swift, you can deliver a polished, passwordless experience that aligns with modern app development best practices and delivers significant value to both developers and end users.
For a working implementation, refer to the Descope Native Flows Swift sample app. Excited to build your own seamless mobile auth flows? Sign up for a free Descope account or a book a demo with our auth experts to learn more.