
Table of Contents
Adding authentication in Flask is a key step in building secure web apps that users can trust. In this hands-on tutorial, you’ll see how to create a complete Flask authentication flow using Python and simple HTML templates.
We’ll walk through signup, login, logout, and profile features with clear examples that you can use in your own projects. Whether you’re just getting started with Flask or want to level up your app’s security, this guide will help you build a solid foundation for user authentication.
Prerequisites and setup
Before diving into Flask authentication, make sure you have the basics ready. All the code for this tutorial is available in our GitHub repository, with installation instructions in the README.
If you're new to Flask or Descope, no problem. You can follow along as you build authentication in Flask from scratch. To get started, sign up for a free account on Descope. You may also want to check out the Descope Get Started docs and Flask Quick Start guide for additional background.
Read more: Adding Descope Authentication to a React+Flask App
How Flask authentication works in this example
In this tutorial, we’ll build authentication in Flask using Descope for handling user sessions. The app will let users sign up, sign in, log out, and view a profile page. We’ll manage authentication in Flask by combining Python, HTML templates, and a simple decorator that protects routes from unauthorized access.
You’ll see how to set up the Descope SDK, refresh and validate session tokens, and connect your Flask routes with secure authentication logic. Let’s start by creating the Flask app and building the authentication decorator.
Step 1: Create the Flask app and auth decorator
To manage authentication in Flask, we’ll create an authentication decorator that protects sensitive routes. This decorator checks for a valid session token and ensures only authorized users can access certain endpoints.
Here’s how we define the token_required decorator in our Flask app:
def token_required(f): # auth decorator
   @wraps(f)
   def decorator(*args, **kwargs):
       session_token = None


       if 'Authorization' in request.headers: # check if token in request
           auth_request = request.headers['Authorization']
           session_token = auth_request.replace('Bearer ', '')
       if not session_token: # throw error
           return make_response(jsonify({"error": "❌ invalid session token!"}), 401)


       try: # validate token
           jwt_response = descope_client.validate_session(session_token=session_token)
       except:
           return make_response(jsonify({"error": "❌ invalid session token!"}), 401)


       return f(jwt_response, *args, **kwargs)

   return decorator
Code snippet: app.py file, token_required decorator
This is the foundation of our Flask authentication logic. It checks for an authorization header, validates the session token using Descope, and either allows or blocks access.
Step 2: Build the HTML templates
Our Flask authentication app uses simple HTML templates for the user interface. These templates handle login, profile display, and navigation.
Start with a base HTML file that loads the Descope SDK. This makes Descope authentication features available across all pages.
<!DOCTYPE html>
<html lang="en">
<head>
   <meta charset="UTF-8">
   <title>{% block title %} {% endblock %}</title>
   <script src="https://unpkg.com/@descope/web-component@latest/dist/index.js"></script>
   <script src="https://unpkg.com/@descope/web-js-sdk@latest/dist/index.umd.js"></script>
Code snippet: base.html file head
This base template provides a clean starting point for building the authentication pages in Flask. You’ll extend this file for login, profile, and other views.
Step 3: Add Descope authentication logic
Now let’s add the authentication logic in Flask that connects our HTML templates to Descope. First, we create a descope.js file to define global variables and initialize the Descope SDK.
const projectId = ""
const sdk = Descope({ projectId: projectId, persistTokens: true, autoRefresh: true })
const sessionToken = sdk.getSessionToken()
Code snippet: descope.js file
These variables make it easy to manage authentication in Flask:
projectId links to your Descope project.
sdk initializes Descope and manages tokens.
sessionToken stores the user’s session token.
We’ll use these in the login, profile, and other pages to check authentication status and control access.
Step 4: Protect routes with the auth decorator
Once your token_required decorator is in place, you can use it to secure any Flask route that requires authentication. This helps prevent unauthorized access to sensitive parts of your app.
For example, here’s how we protect the /get_secret_message endpoint:
@app.route('/get_secret_message', methods=["GET"])
@token_required
def get_secret_message(jwt_response):
   print(jwt_response)
   return {"secret_msg": "This is the secret message. Congrats!"}
Code snippet: app.py file, get_secret_message endpoint
When a request hits this route, the authentication decorator checks the session token first. If the token is valid, the route logic runs. If not, the user gets a 401 error.
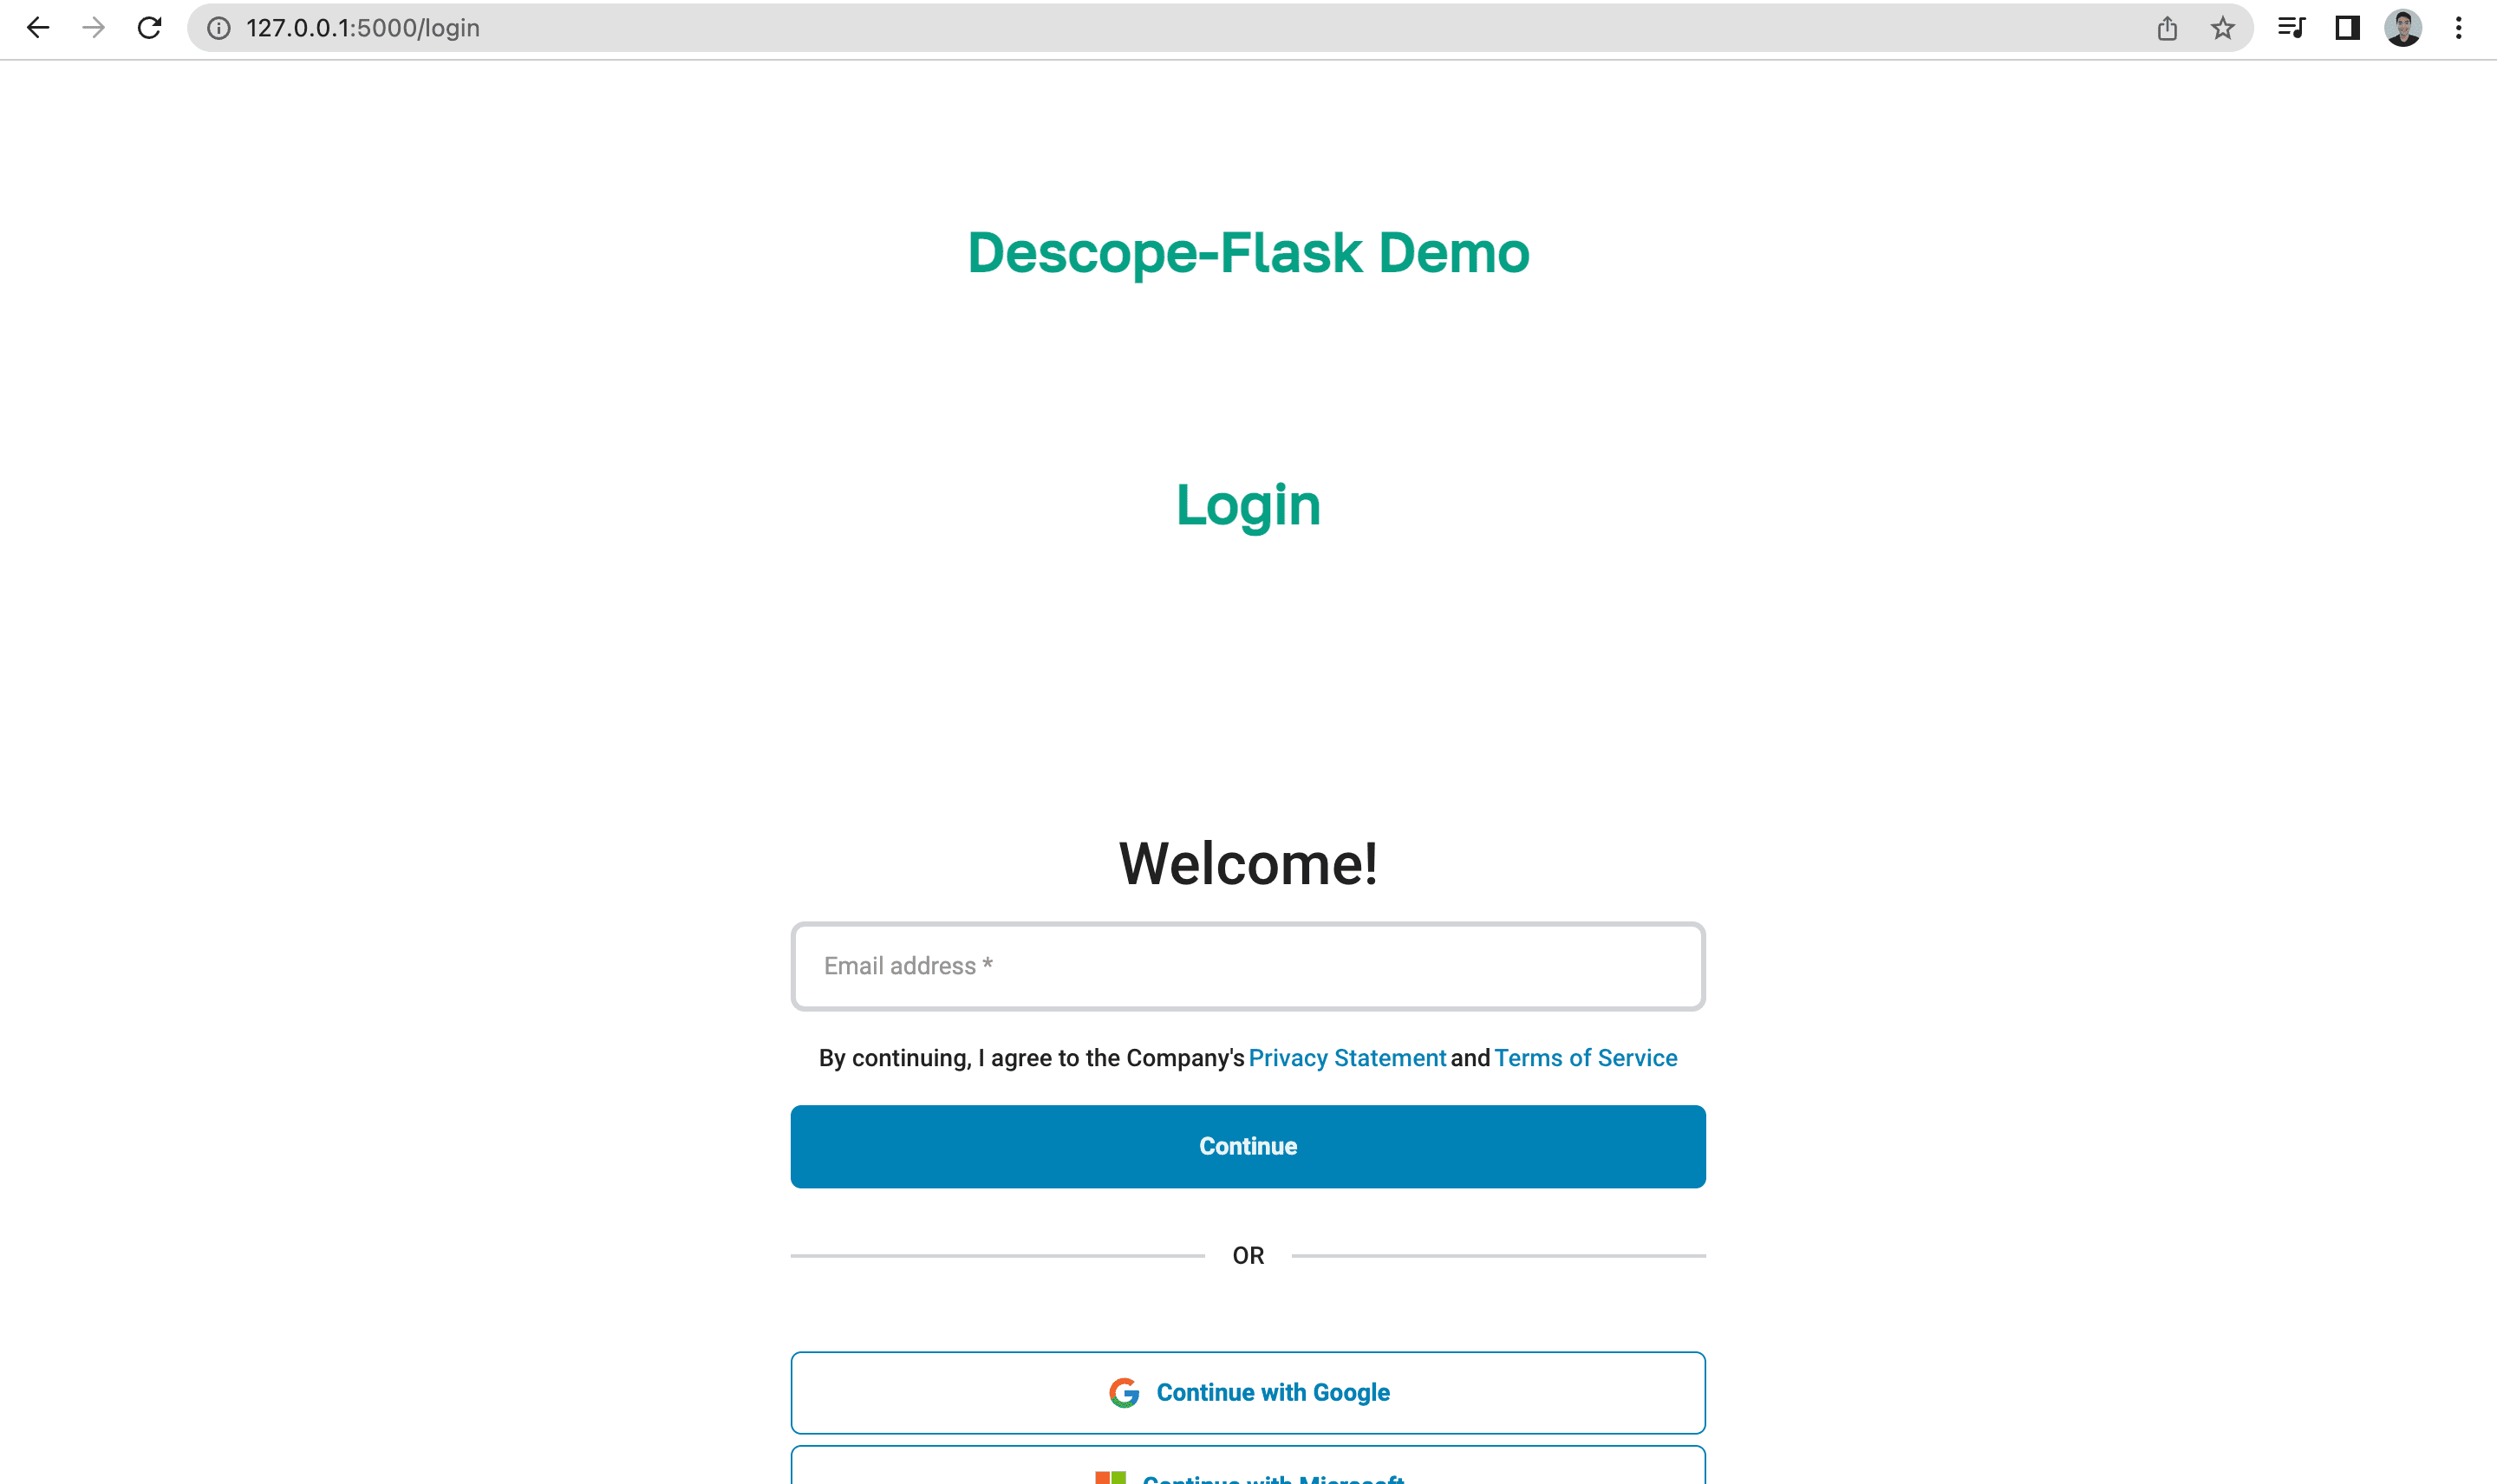
Step 5: Log in with Descope in HTML
The login logic can be found in the login.html file. We import descope.js so we can access the global variables that help manage Flask authentication.
{% extends 'base.html' %}


{% block content %}
   <h1 class="title">{% block title %} Login {% endblock %}</h1>
   <div id="container"></div>


   <script src="{{url_for('static', filename='descope.js')}}"></script>
   <script>
       sdk.refresh()
       const container = document.getElementById('container')


       if (!sessionToken) {
           container.innerHTML = '<descope-wc project-id="' + projectId + '" flow-id="sign-up-or-in"></descope-wc>'
           const wcElement = document.getElementsByTagName('descope-wc')[0]


           const onSuccess = (e) => {
               sdk.refresh()
               window.location.href = "/profile"
           }


           const onError = (err) => console.log(err);


           wcElement.addEventListener('success', onSuccess)
           wcElement.addEventListener('error', onError)
       } else {
           window.location.href = "/profile"
       }
   </script>
{% endblock %}
Here’s how the profile logic works:
<script src="{{url_for('static', filename='descope.js')}}"></script>
   <script>
       sdk.refresh()
       const userName = document.getElementById('userName')
       const userEmail = document.getElementById('userEmail')
       const secretMsg = document.getElementById('secretMsg')
       const profileContainer = document.getElementById('profile')


       function getProfileData(){
           fetch('/get_secret_message', { // call the api endpoint from the flask server
               headers: {
                   Accept: 'application/json',
                   Authorization: 'Bearer ' + sessionToken,
               }
           }).then(data => {
               if (data.status === 401) { // error
                   window.location.href = '/login'
               }
               return data.json()
           }).then(jsonData => {
               console.log(jsonData)
               secretMsg.innerHTML = jsonData.secret_msg
           }).catch((err) => {
               console.log(err) // error
               window.location.href = '/login'
           })
       }


       async function setNameEmail() {
           const profile = await sdk.me()
           userName.innerHTML = profile.data.name
           userEmail.innerHTML = profile.data.email
       }


       if (sessionToken) {
           getProfileData();
           setNameEmail()
       } else {
           window.location.href = "/login"
       }


       async function logout() {
           await sdk.logout()
           window.location.href = "/login"
       }
   </script>
Code snippet: profile.html file scripts
There are three key takeaways from the JavaScript code
At the top of every HTML page, we call
sdk.refresh()to jumpstart the autorefresh process and use the refresh token to get a new valid session token.The
ifstatement checks if the session token is invalid and displays the Descope login widget. If the session token is valid, the user is redirected to the profile page.The
onSuccessarrow function captures the login event, callssdk.refresh()to start the autorefresh process, and redirects the user to the profile page, where we validate the session token.
Let’s see how we display our profile information in the profile.html file.
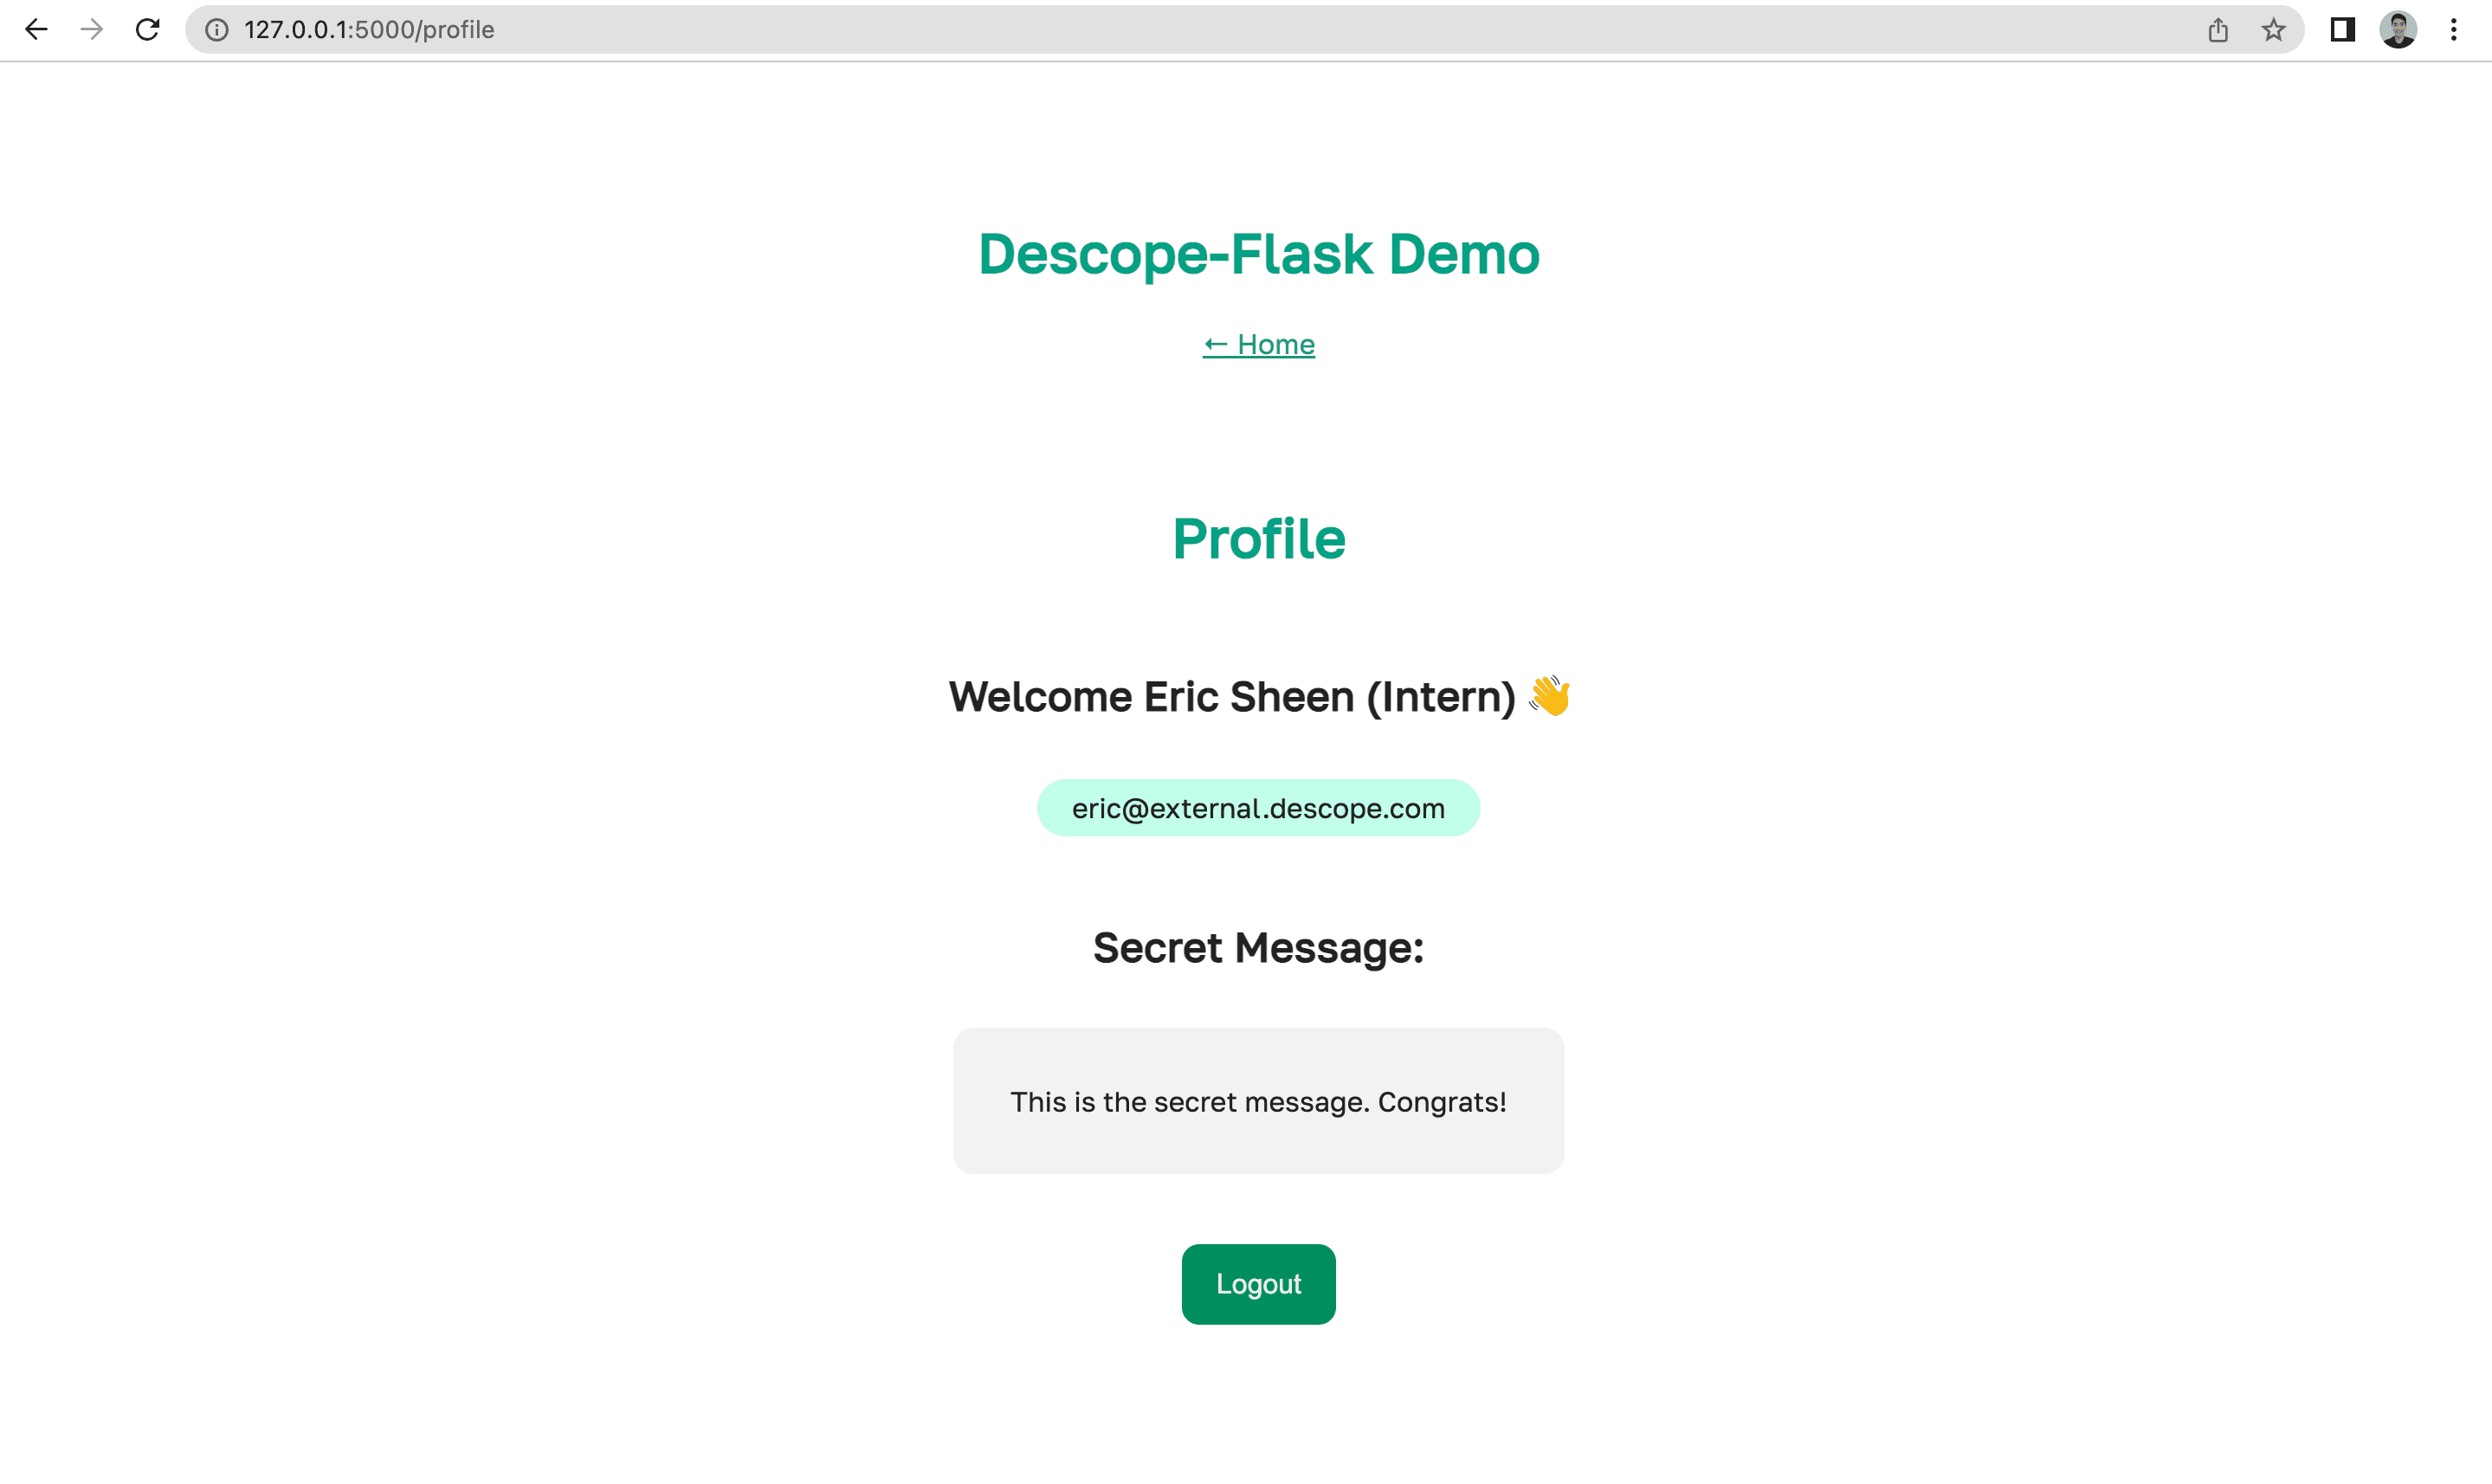
Step 6: Display the profile page
After logging in, users can access the profile page. This page displays user details and a secret message retrieved securely through authentication in Flask.
       async function logout() {
           await sdk.logout()
           window.location.href = "/login"
       }
   </script>
Code snippet: profile.html file scripts
This ensures the user session ends cleanly. You can connect this function to a logout button in your profile template. Logging out removes the session token, preventing unauthorized access if someone tries to revisit a protected page.
Notice how sdk.refresh() is called at the top of the script. This jumpstarts the auto-refresh process, using the refresh token to get a new valid session token.
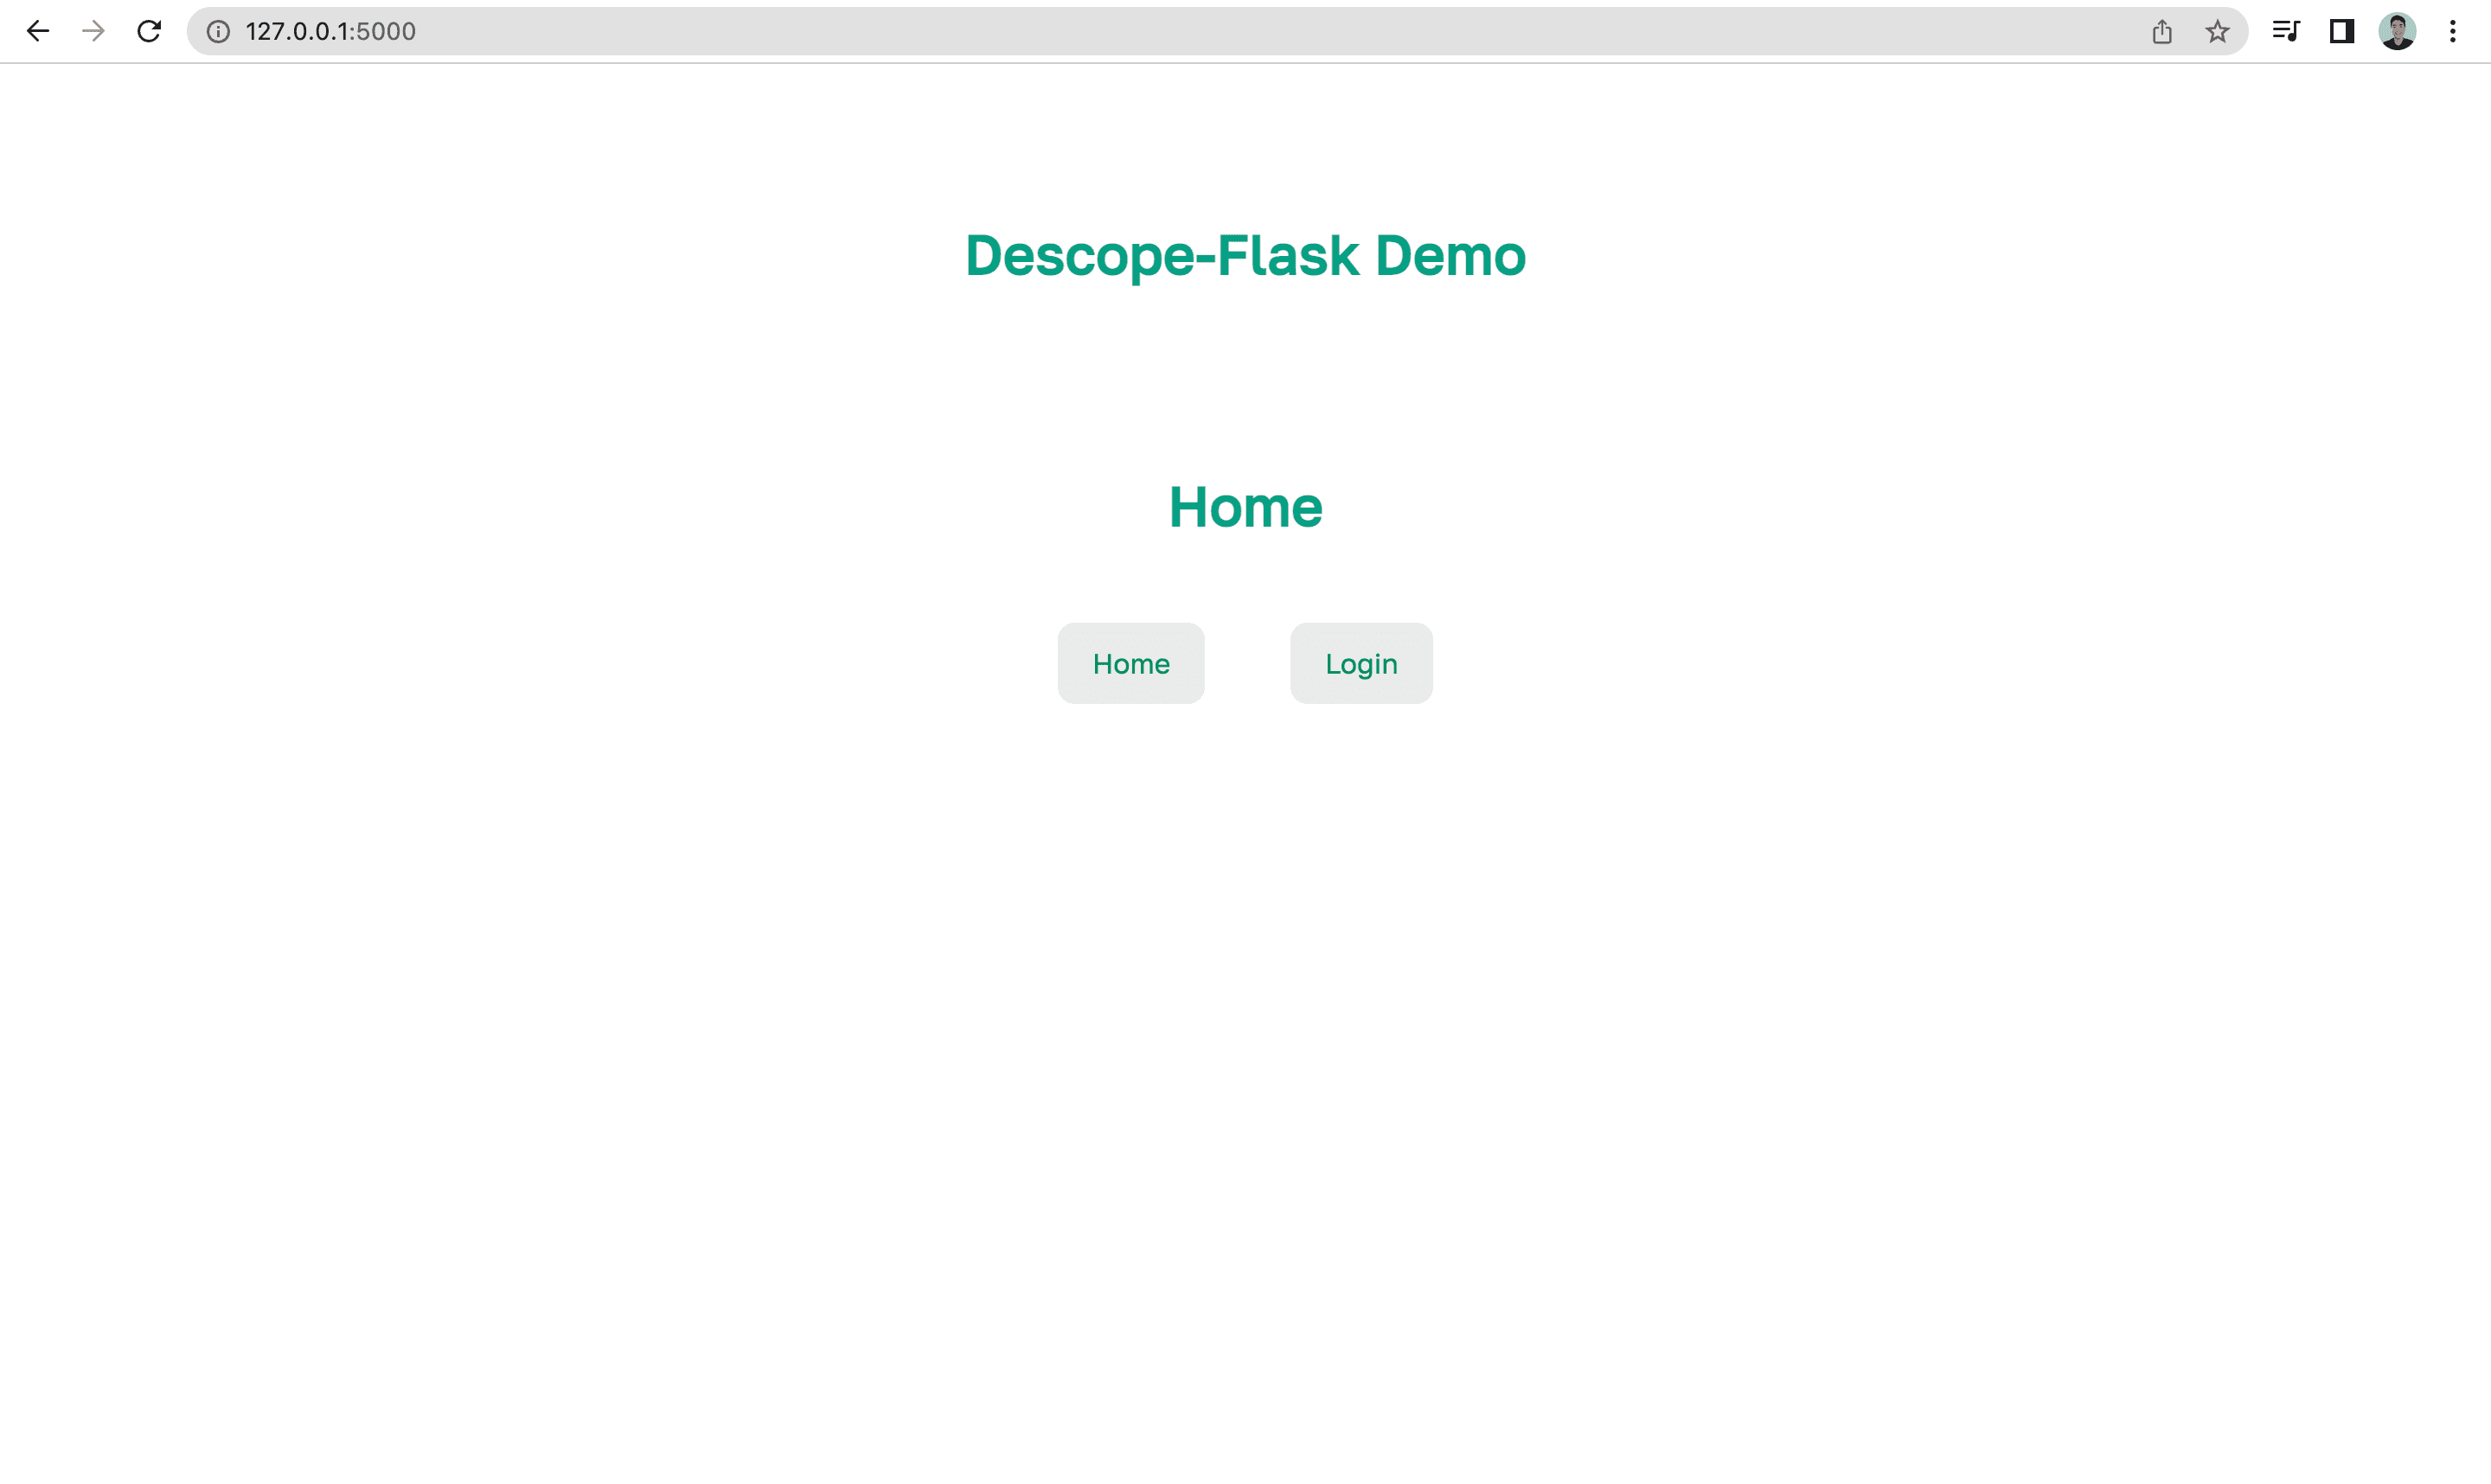
Step 7: Run and test Flask authentication in your app
With all the pieces in place, you can run your Flask app and test the authentication flow. Start your server and visit the home page.
After login, users are redirected to the profile page where their name, email, and secret message appear.
The profile page showcases our name, email, logout button, and a link back to the home page. The logout button ends the session and returns users to the login screen.
Flask authentication in action
This example shows how authentication in Flask can be simple and secure using Python, HTML, and Descope.
With just Python, HTML, and Descope, you’ve created a working Flask authentication system that handles signup, login, logout, and profile access. This simple approach to authentication in Flask helps you build secure apps without adding unnecessary complexity.
If you’re ready to explore more or want to scale your Flask authentication setup, sign up for Descope or book a demo with our auth experts to learn more.